Adding a text box
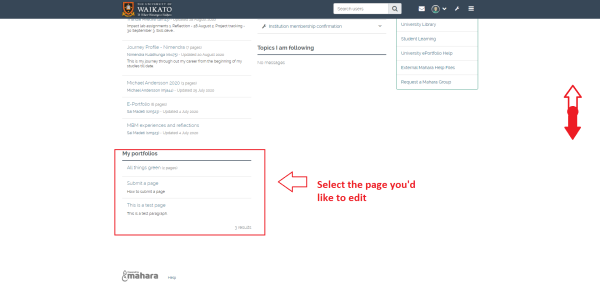
- Scroll the page to the bottom then select the title of the page you wish to edit.
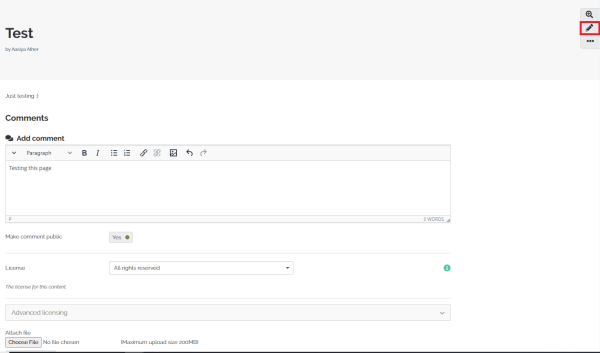
- Select the Pencil icon at the top-right corner of the page.
- Select the + to add a new block.

- In the pop-up window, select the position of the block in which you wish your new text to sit. Select Add.
Note: All cell content can be reorganized later by clicking and dragging from the main page.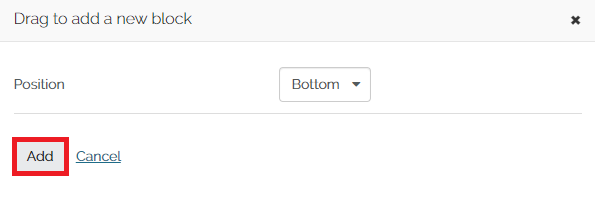
- To add text, select Text. There are more options like images, embedded media and PDFs.

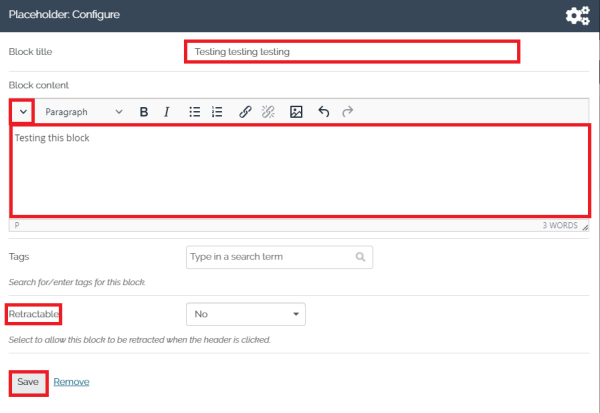
- In the Text: Configure window which now appears on the right of your screen, you can create and format the text of your cell. Enter a title and content: most of the options available to customise the content will sit under the drop-down arrow under Block content. You can choose to make your text block Retractable when the header is selected, or Automatically retract until the header is selected, or not retractable, via the drop down arrow. When you are happy with your text, select Save
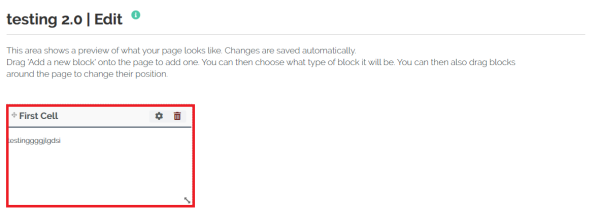
- You will see the new block of text in the corresponding cell. The changes will save automatically and the page will look like this.
Notes
- If you are copying and pasting text from a Word document, use the Paste as text button to paste the text into the edit box. This button sits under the drop-down arrow of step 5 and looks like this:

- Text boxes are best used for small blocks of text up to 2 - 3 paragraphs. For larger more complex documents see the instructions for embedding a PDF document.