Screen Sharing in Zoom
1. In the centre of the task bar that appears when you hover your cursor on the bottom of your Zoom meeting window, select the Share Screen icon.

2. The Share Screen menu shows you all applications open on your device. We recommend that you select Screen, so if you change applications students are still able to observe what is happening. Then select Share at the bottom right.
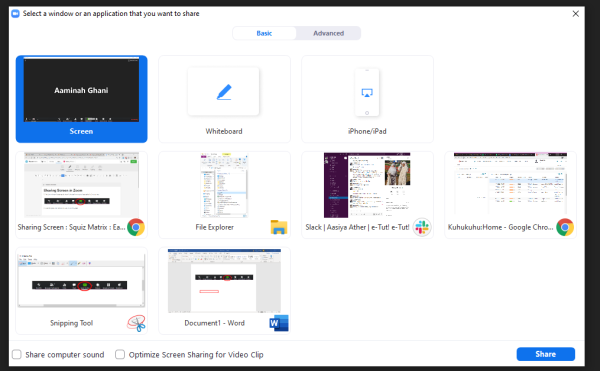
Note: If you are using two or more linked screens, you need to select one of them.
3. If you want to show a video or audio file, tick Share Computer Sound or Optimize Screen Sharing for Video Clip so students can hear what is being played.
![]()
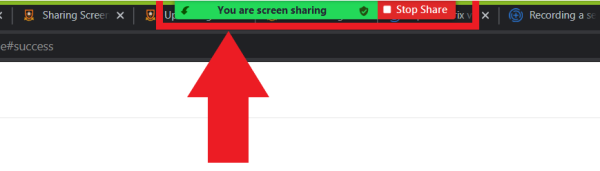
4. Your Zoom meeting and screen sharing controls appear when you hover your cursor over the top of the Zoom window. To stop sharing select Stop Share. You can also Annotate your screen, and Pause Share.
Note:
You can Share Screen both in the main meeting window and in any Breakout Rooms. If you want to leave a meeting or a Breakout Room, select Stop Share first.
Sharing options for participants
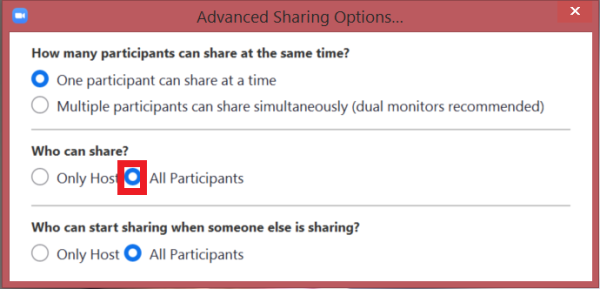
 You can allow only the Host to share, or all participants. You can also allow several participants to share at once.
1. Select the arrow to the right of the Share Screen icon, then select Advanced Sharing Options.
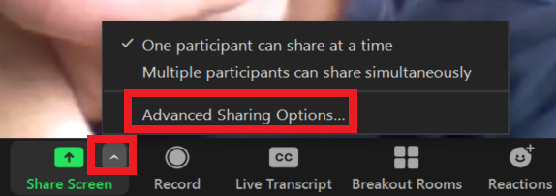
2. Select the radio buttons to choose your screen sharing options.
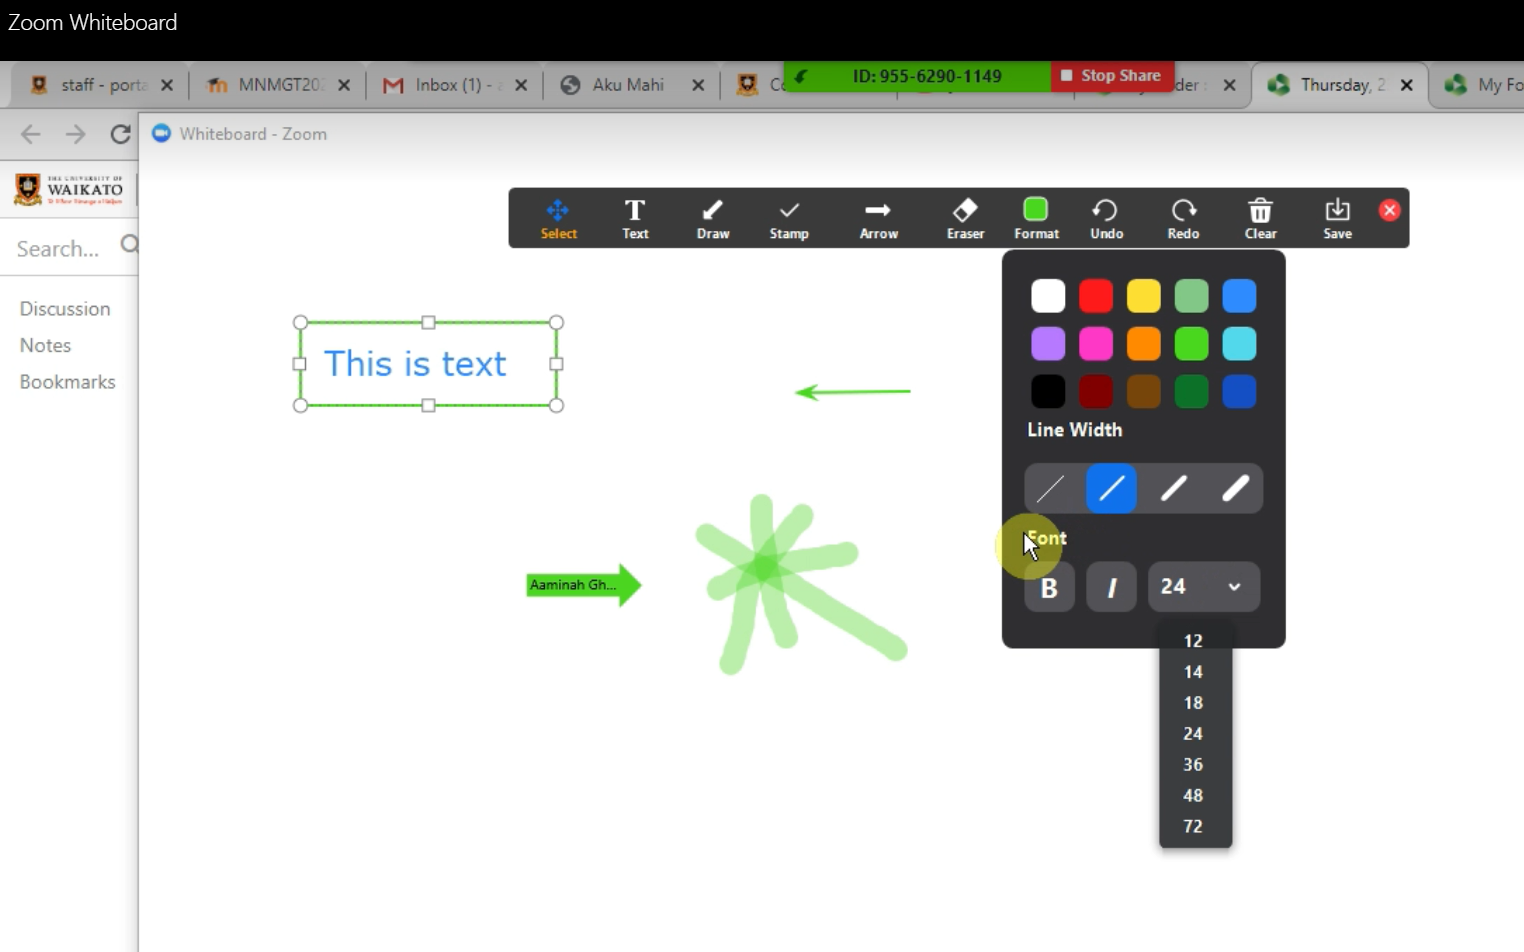
Using the Zoom Whiteboard
After you select Screen Share, you can opt to share a Whiteboard. Participants can work on a Whiteboard in real time with others. It is a great way to get students engaged and participating. See the video below for step-by-step instructions.
An alternative tool for this purpose, which can also be used via Zoom, is Google's Jamboard.