New partnership for University of Waikato and Volunteer Service Abroad
The collaboration will utilise the University of Waikato's research and provide opportunities for students in the Pacific.
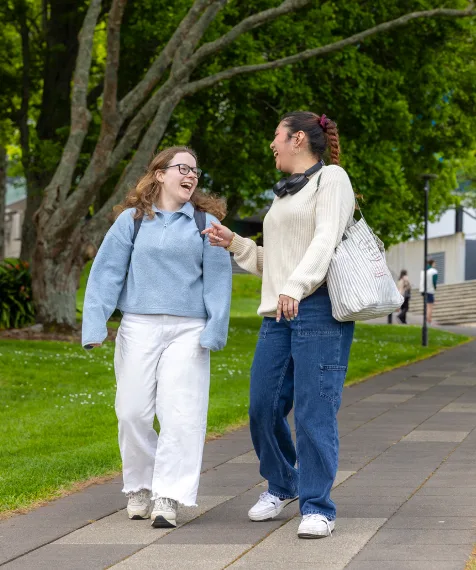
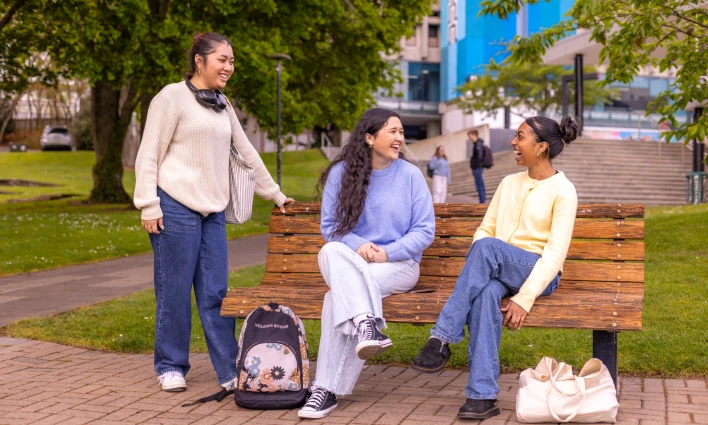
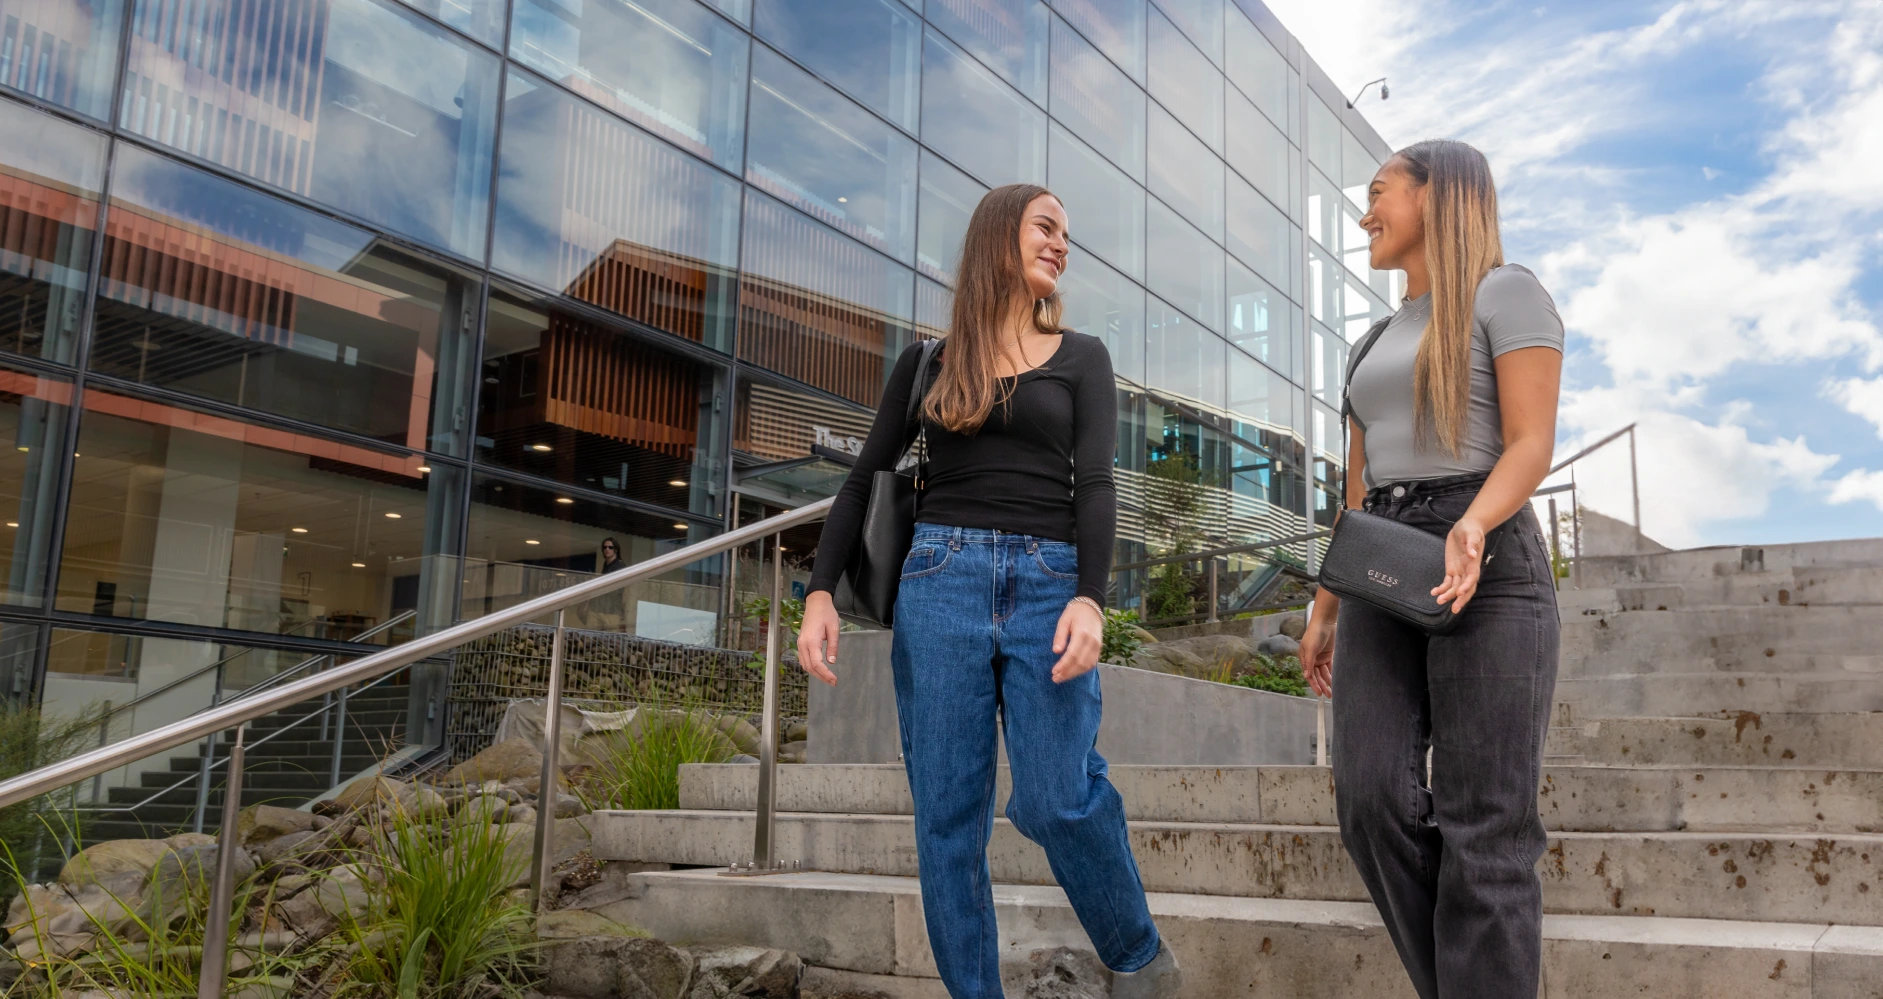
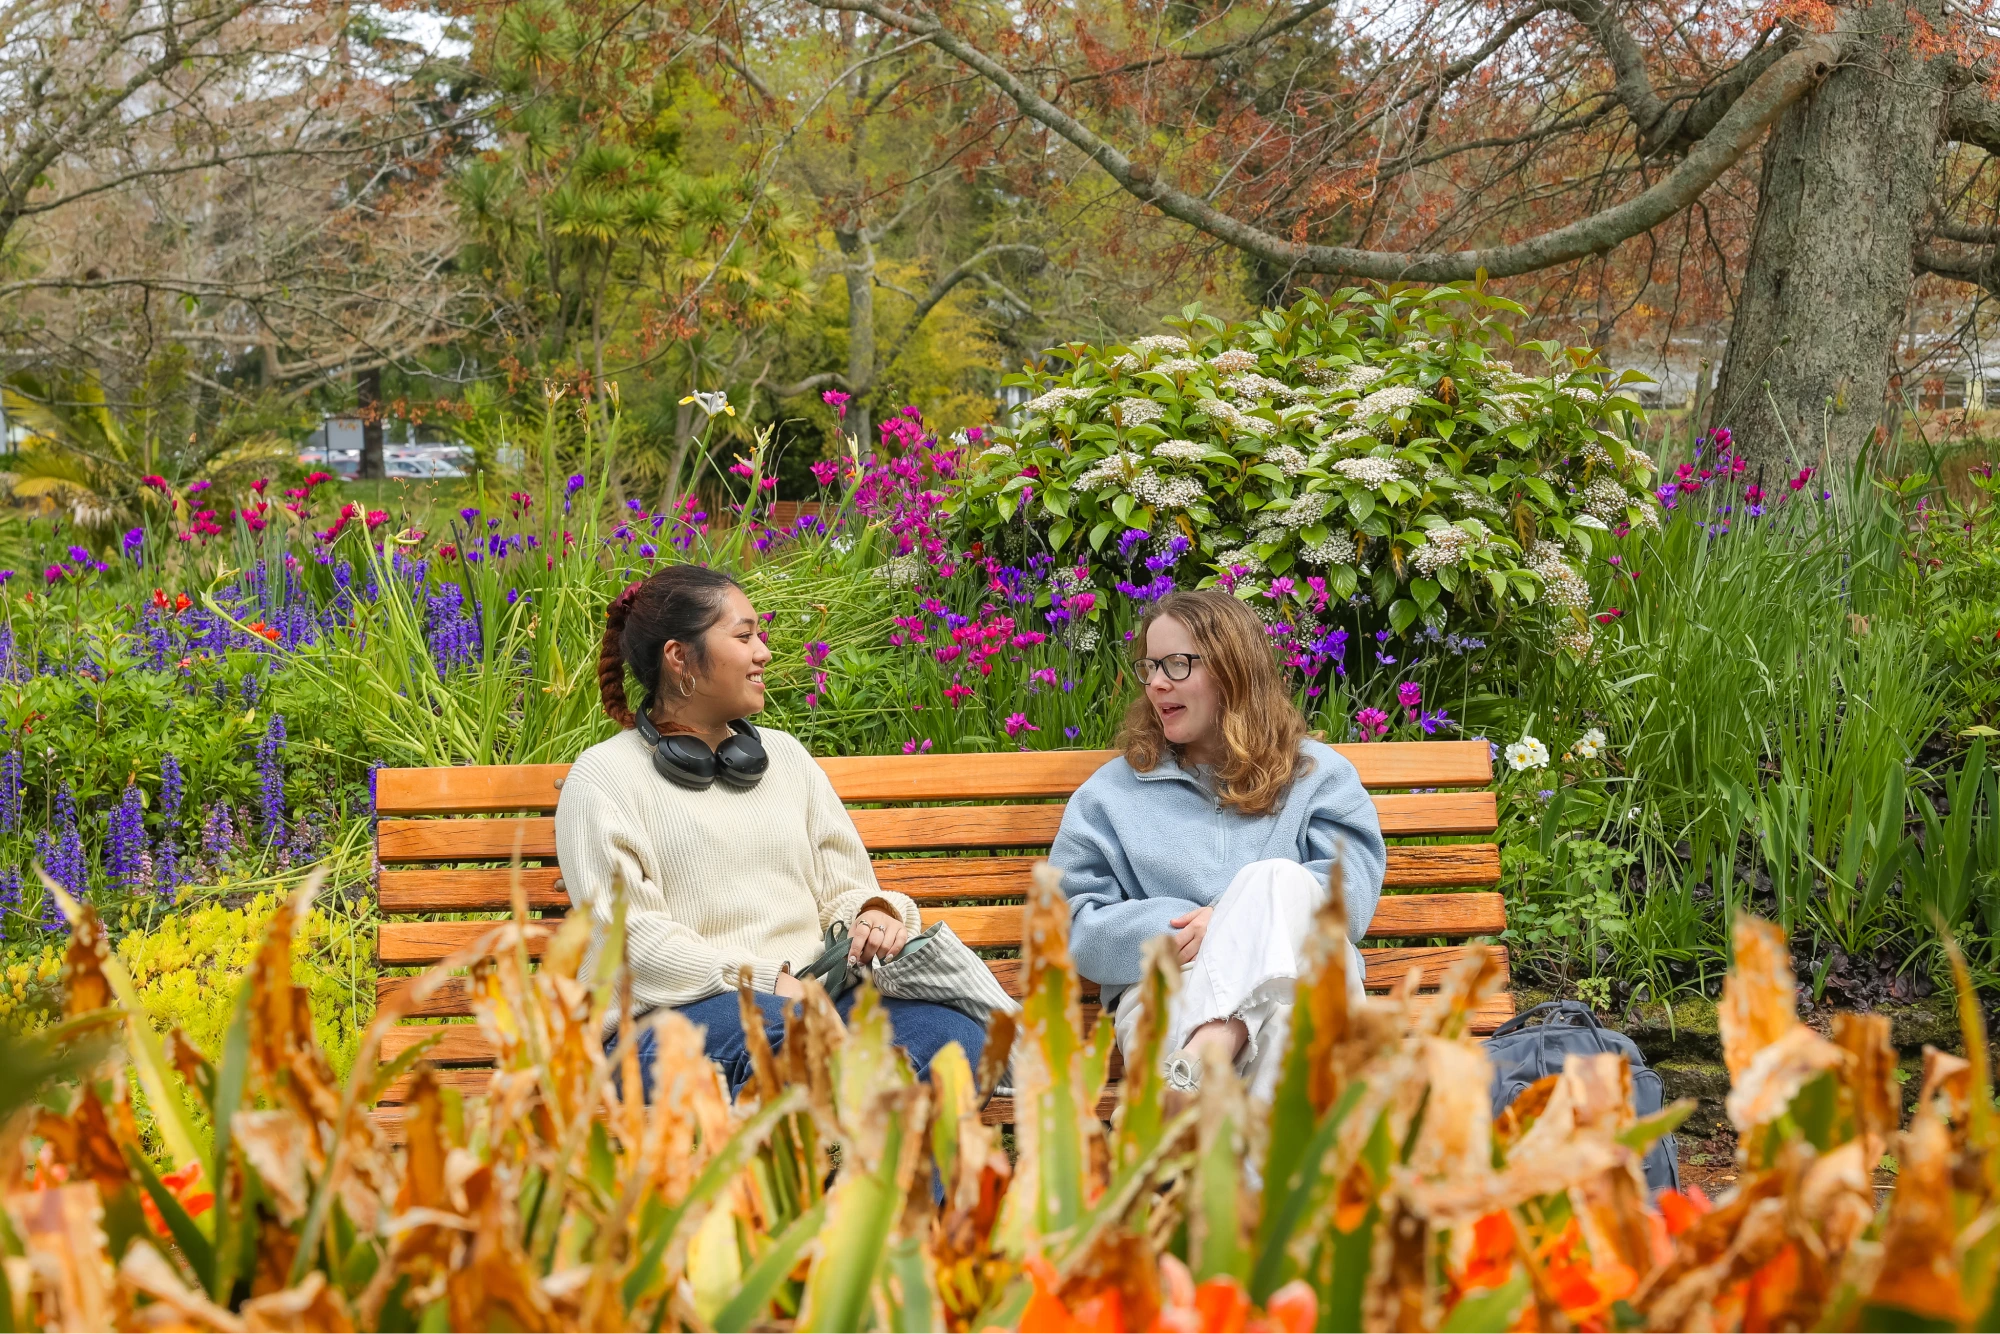
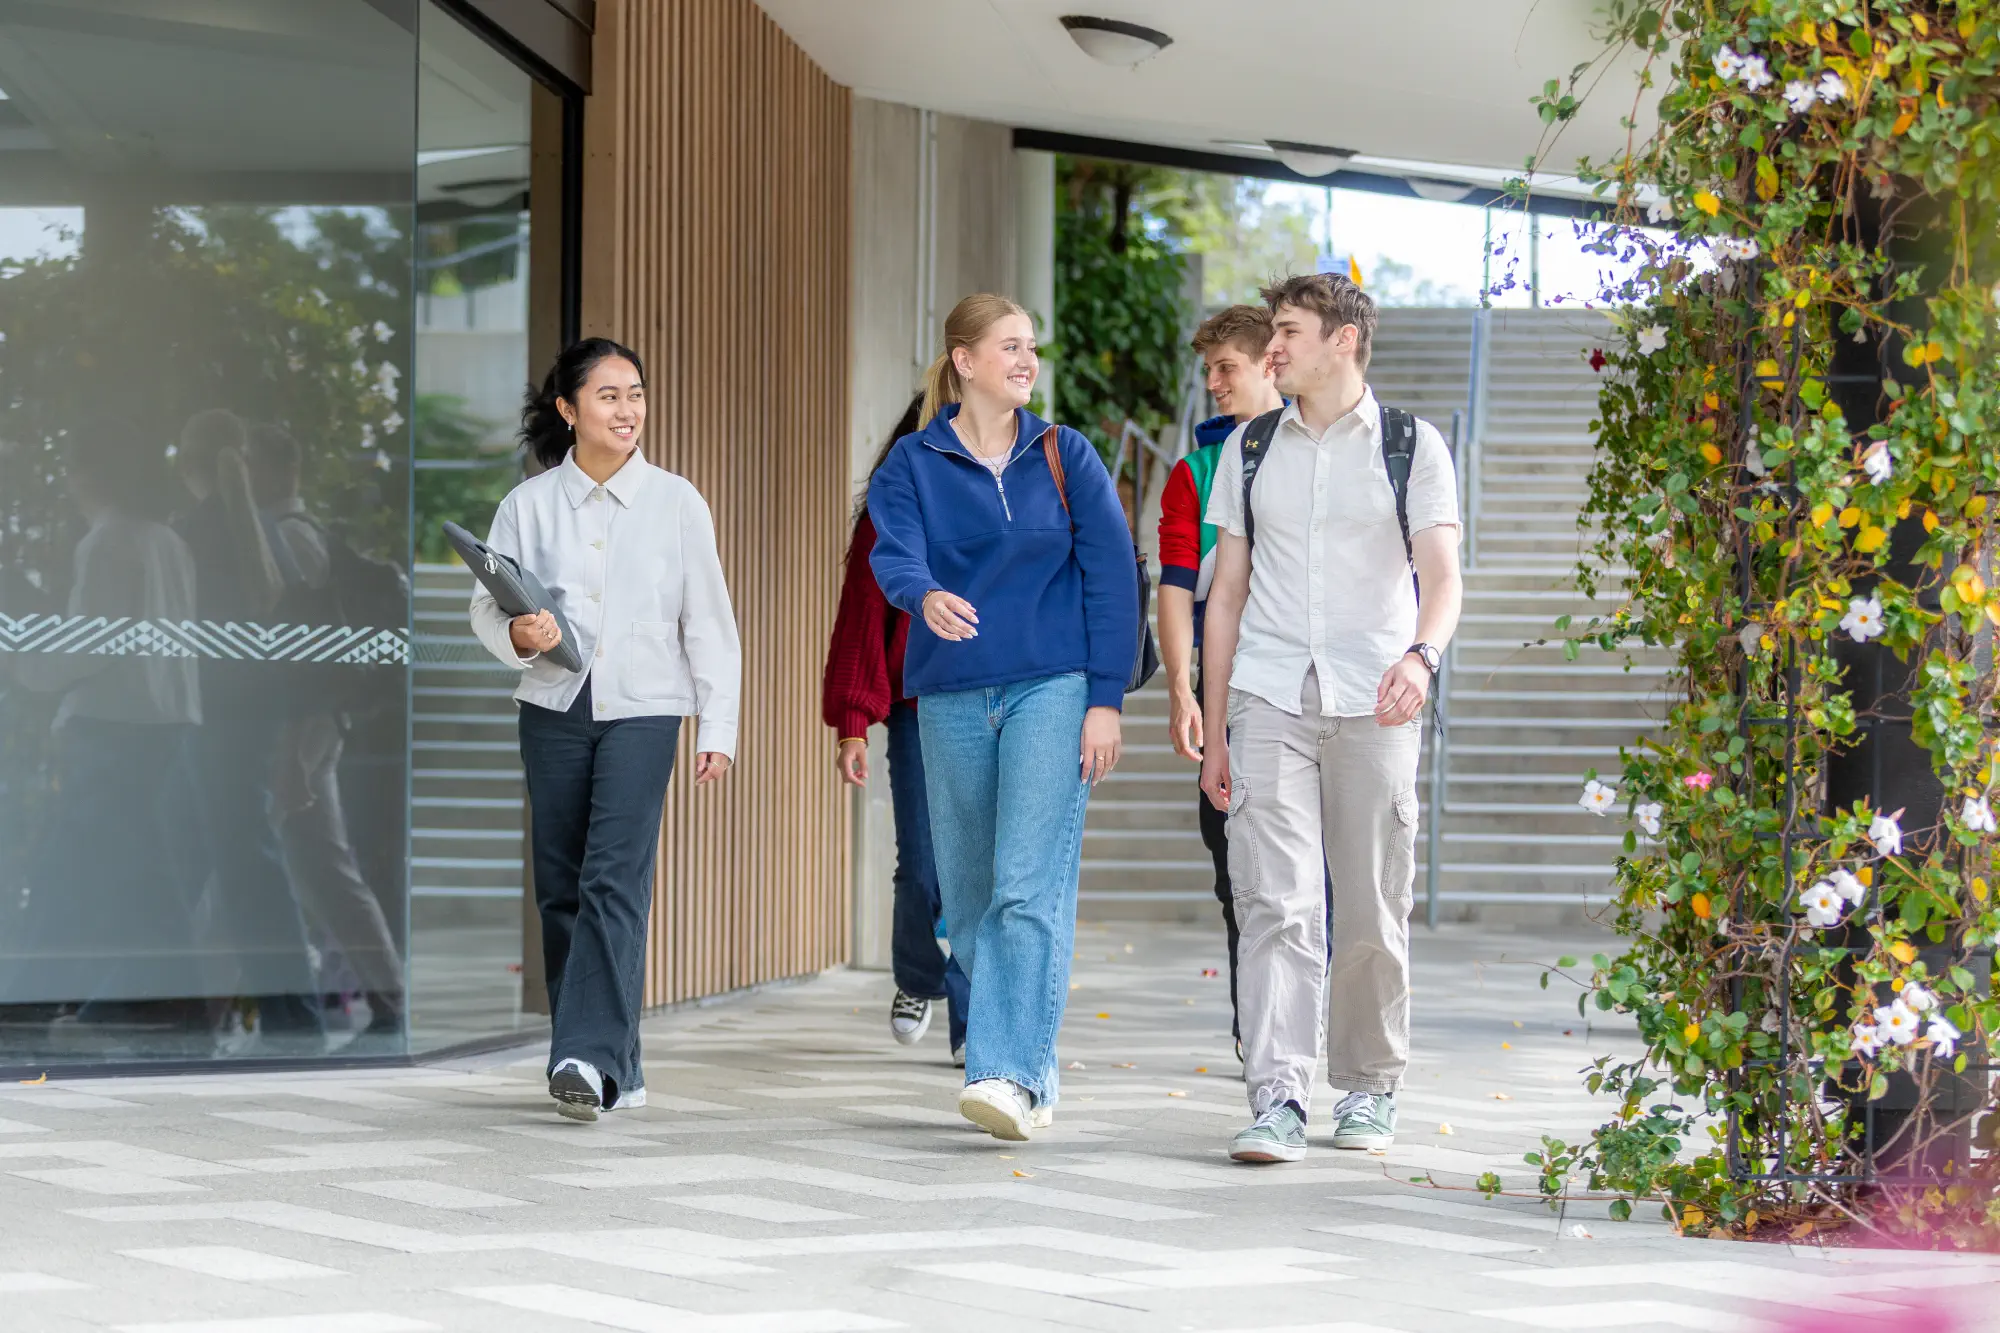
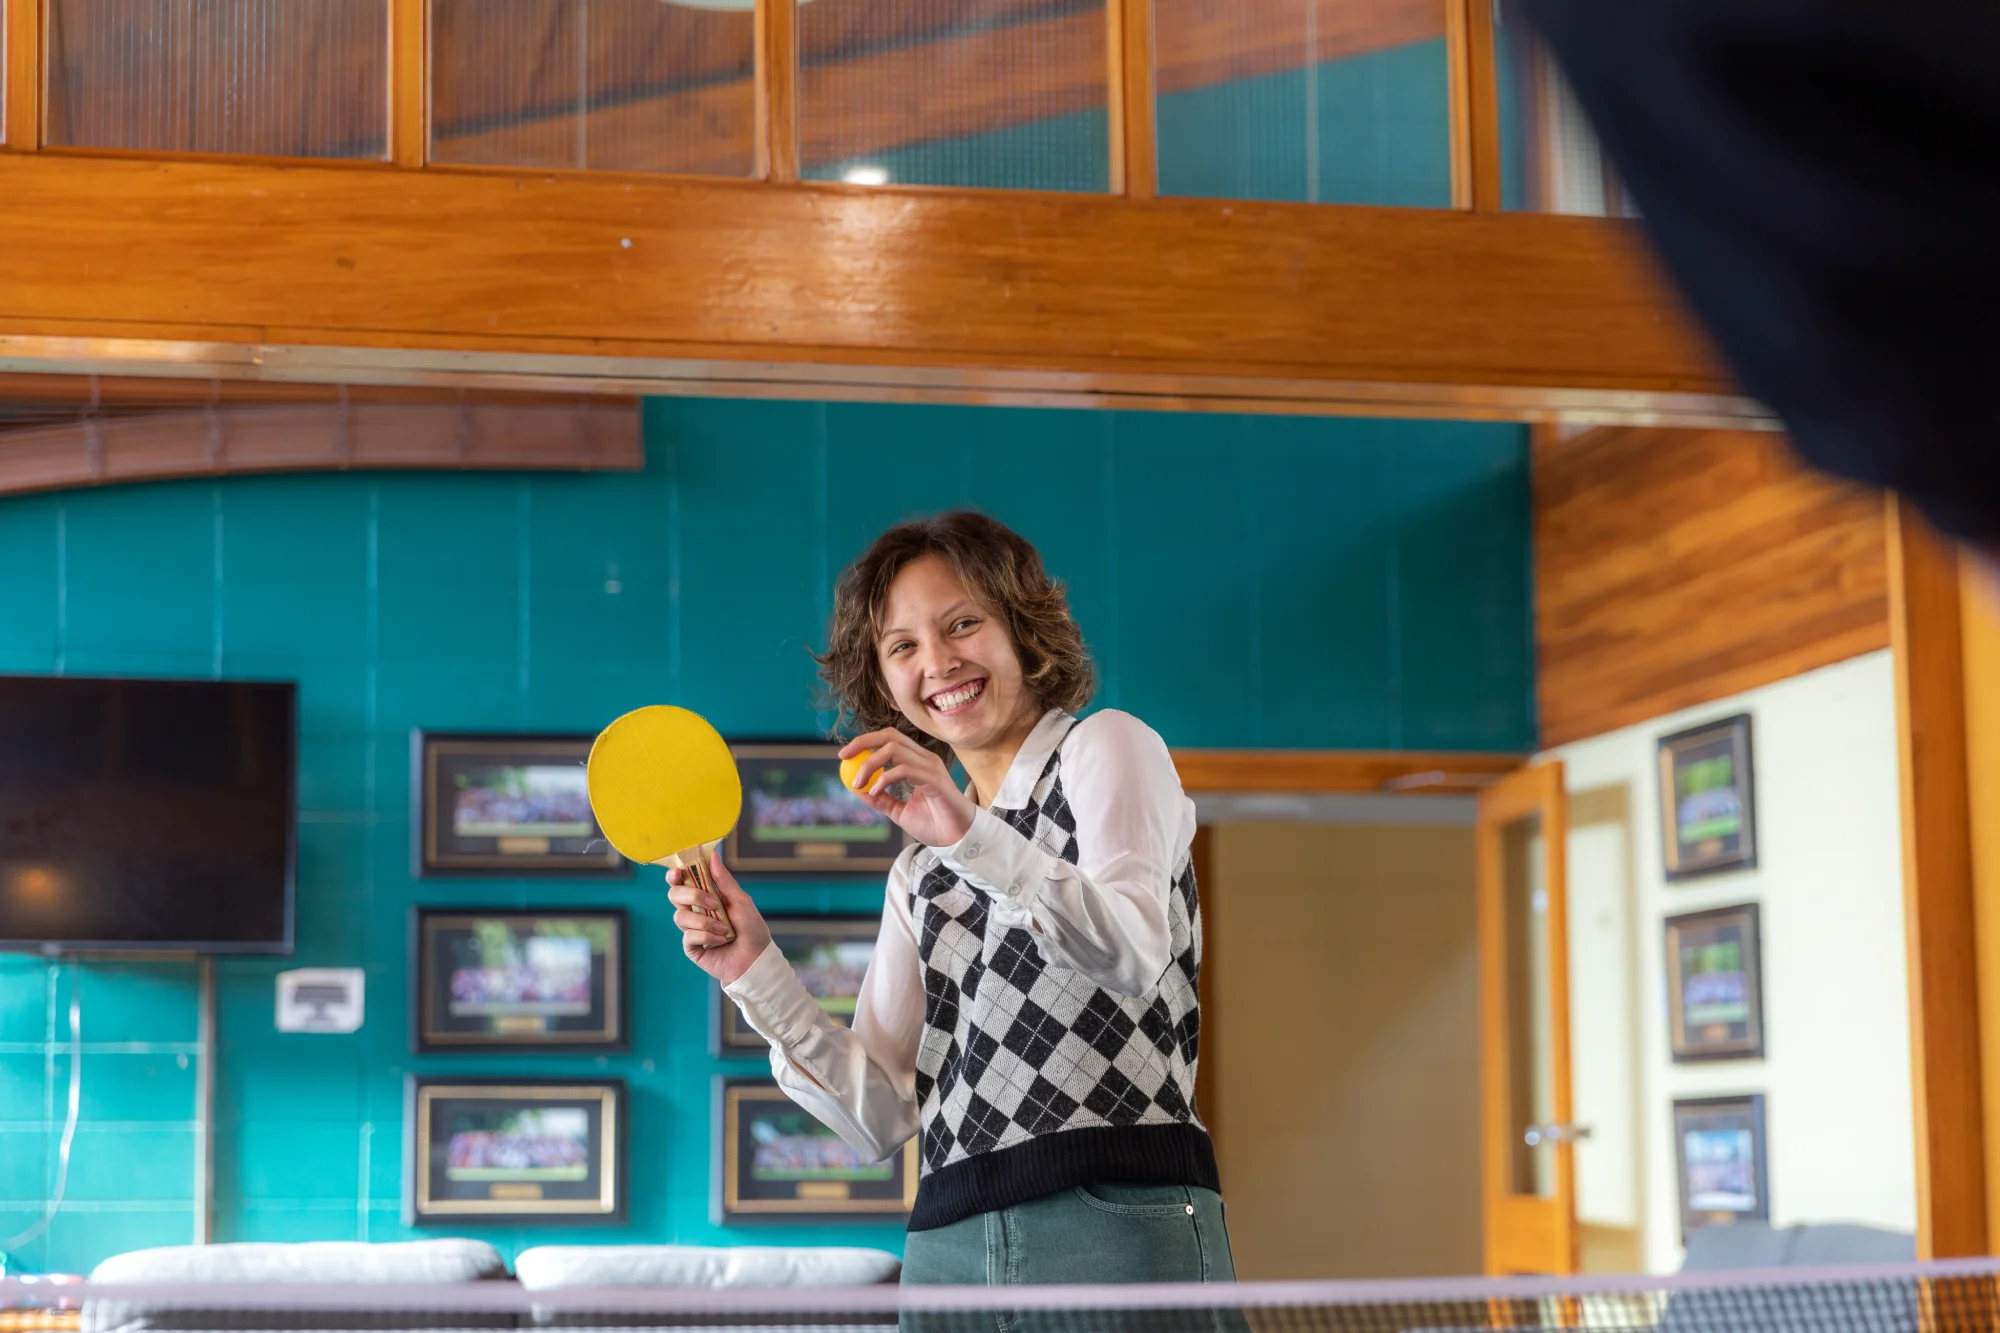
Experience vibrant student life at University of Waikato. From sports clubs to high performance programmes, discover endless opportunities for growth.

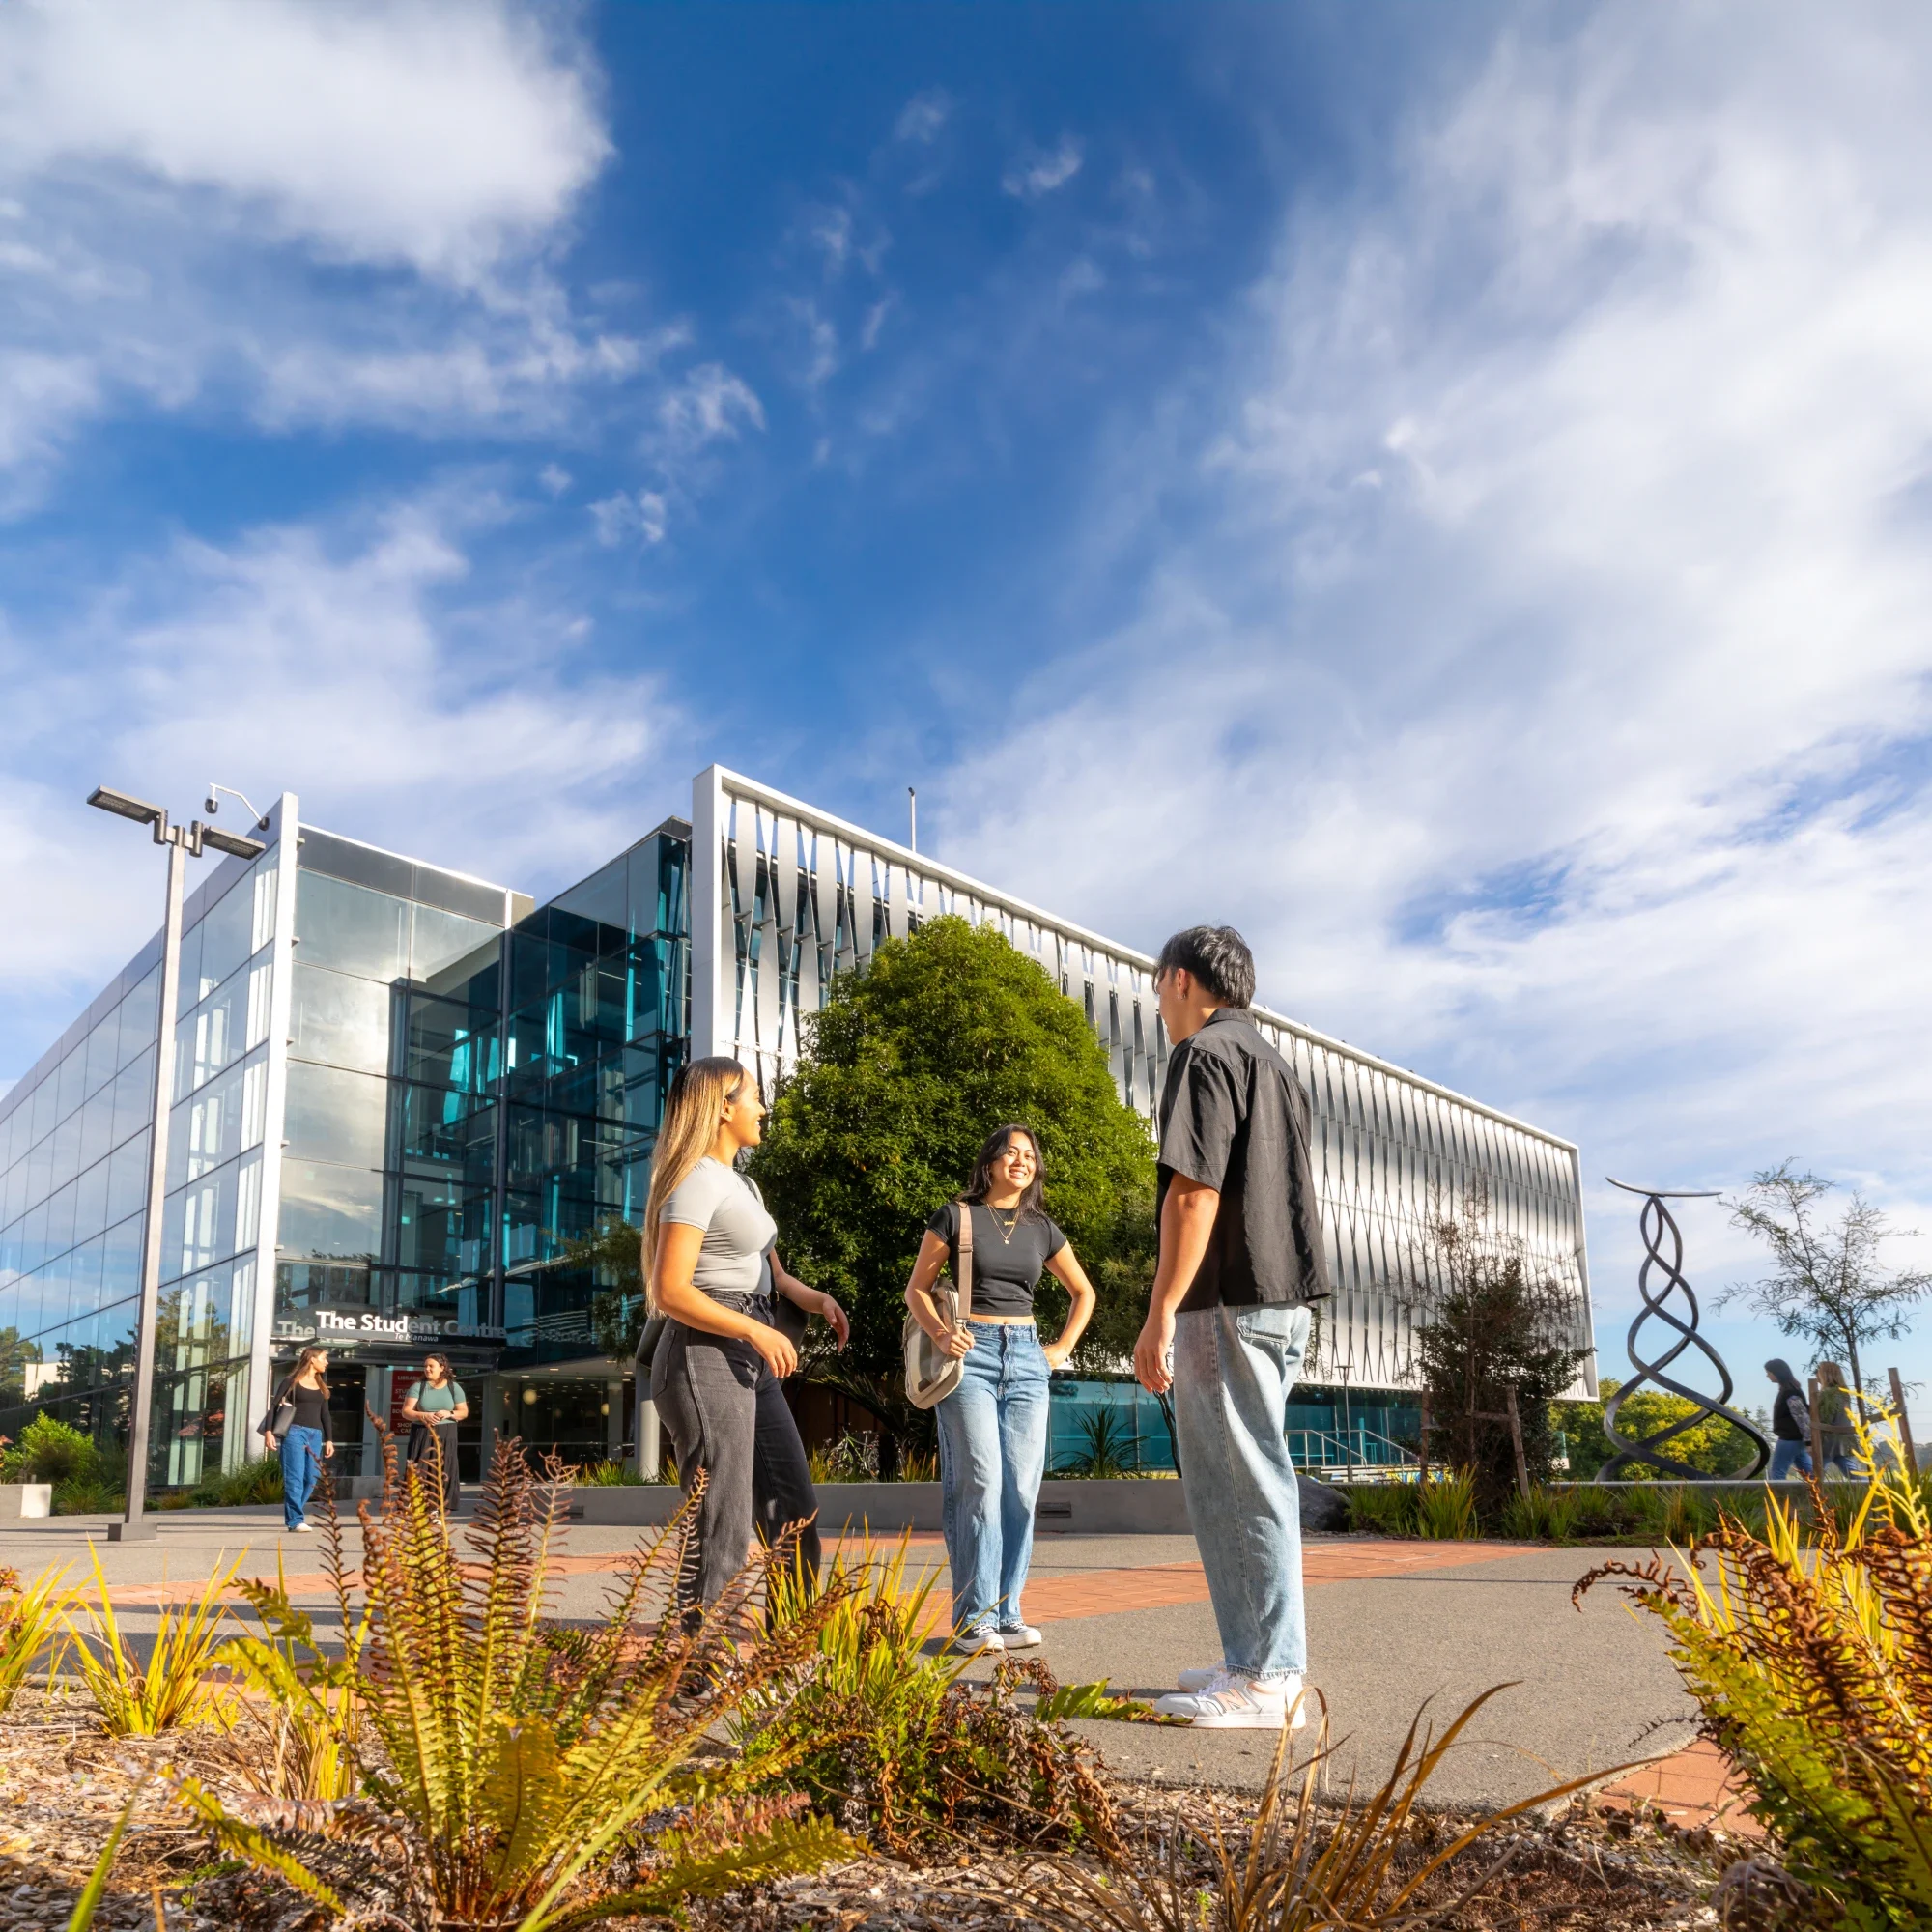
New students can become acquainted with the University by attending ReOrientation events! Find out where things are, how to use our systems, what spaces are available for you to enjoy and who will support you during your time studying with us.
Easy access to important tools and information.

View your enrolment status in MyWaikato.

Find out the event times for lectures, tutorials, labs and workshops for each paper.
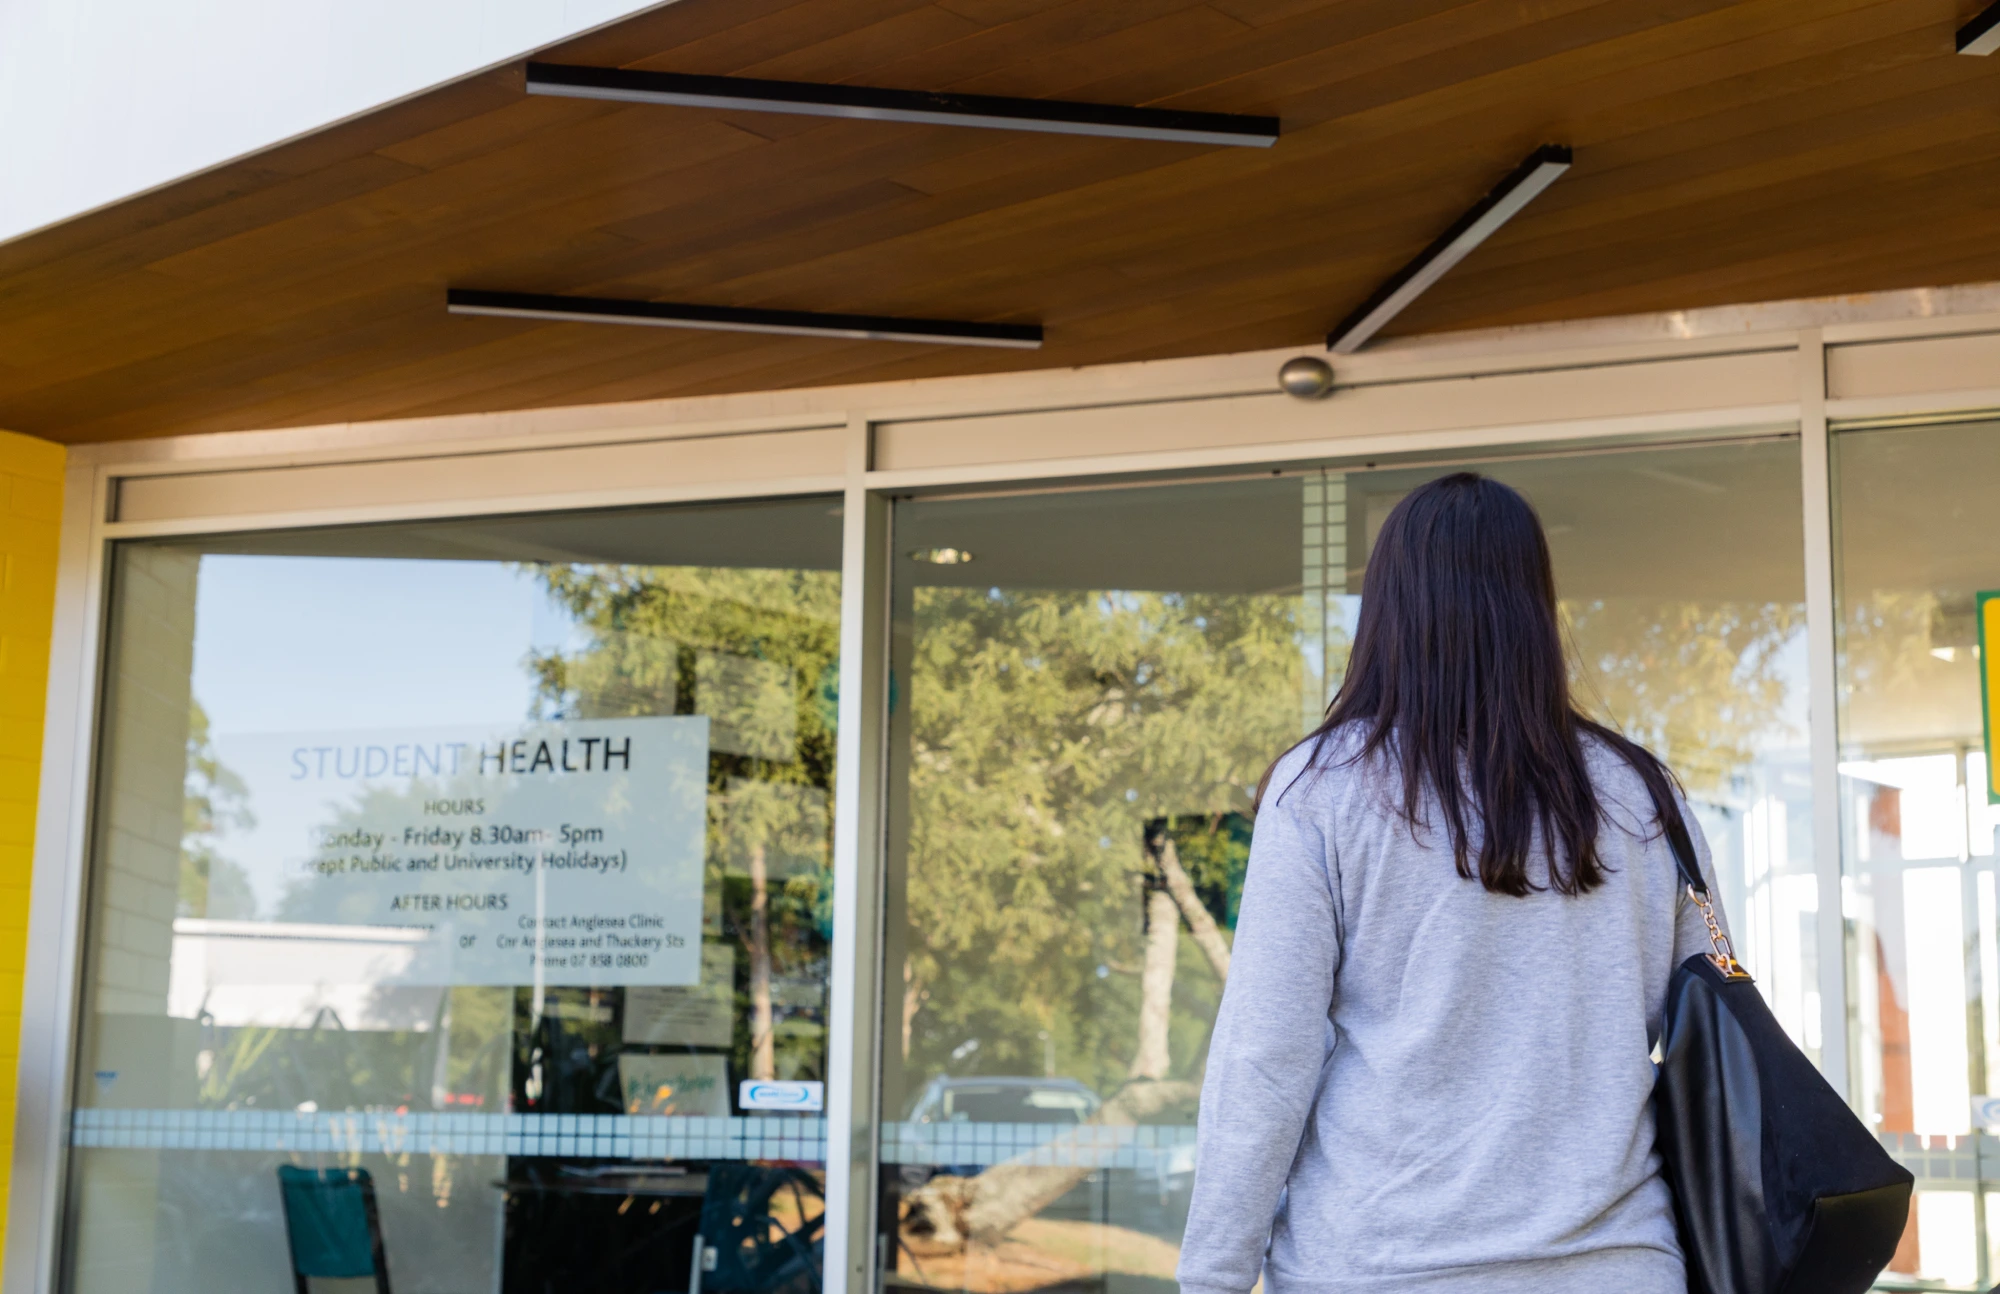
Learn more about the range of health and wellbeing services provided for students.
Te Whare Pukapuka – The Library is an innovative academic hub at the heart of campus. It hosts diverse resources, including Mātangireia for Indigenous materials and O Neherā for digital content, while also fostering global partnerships.
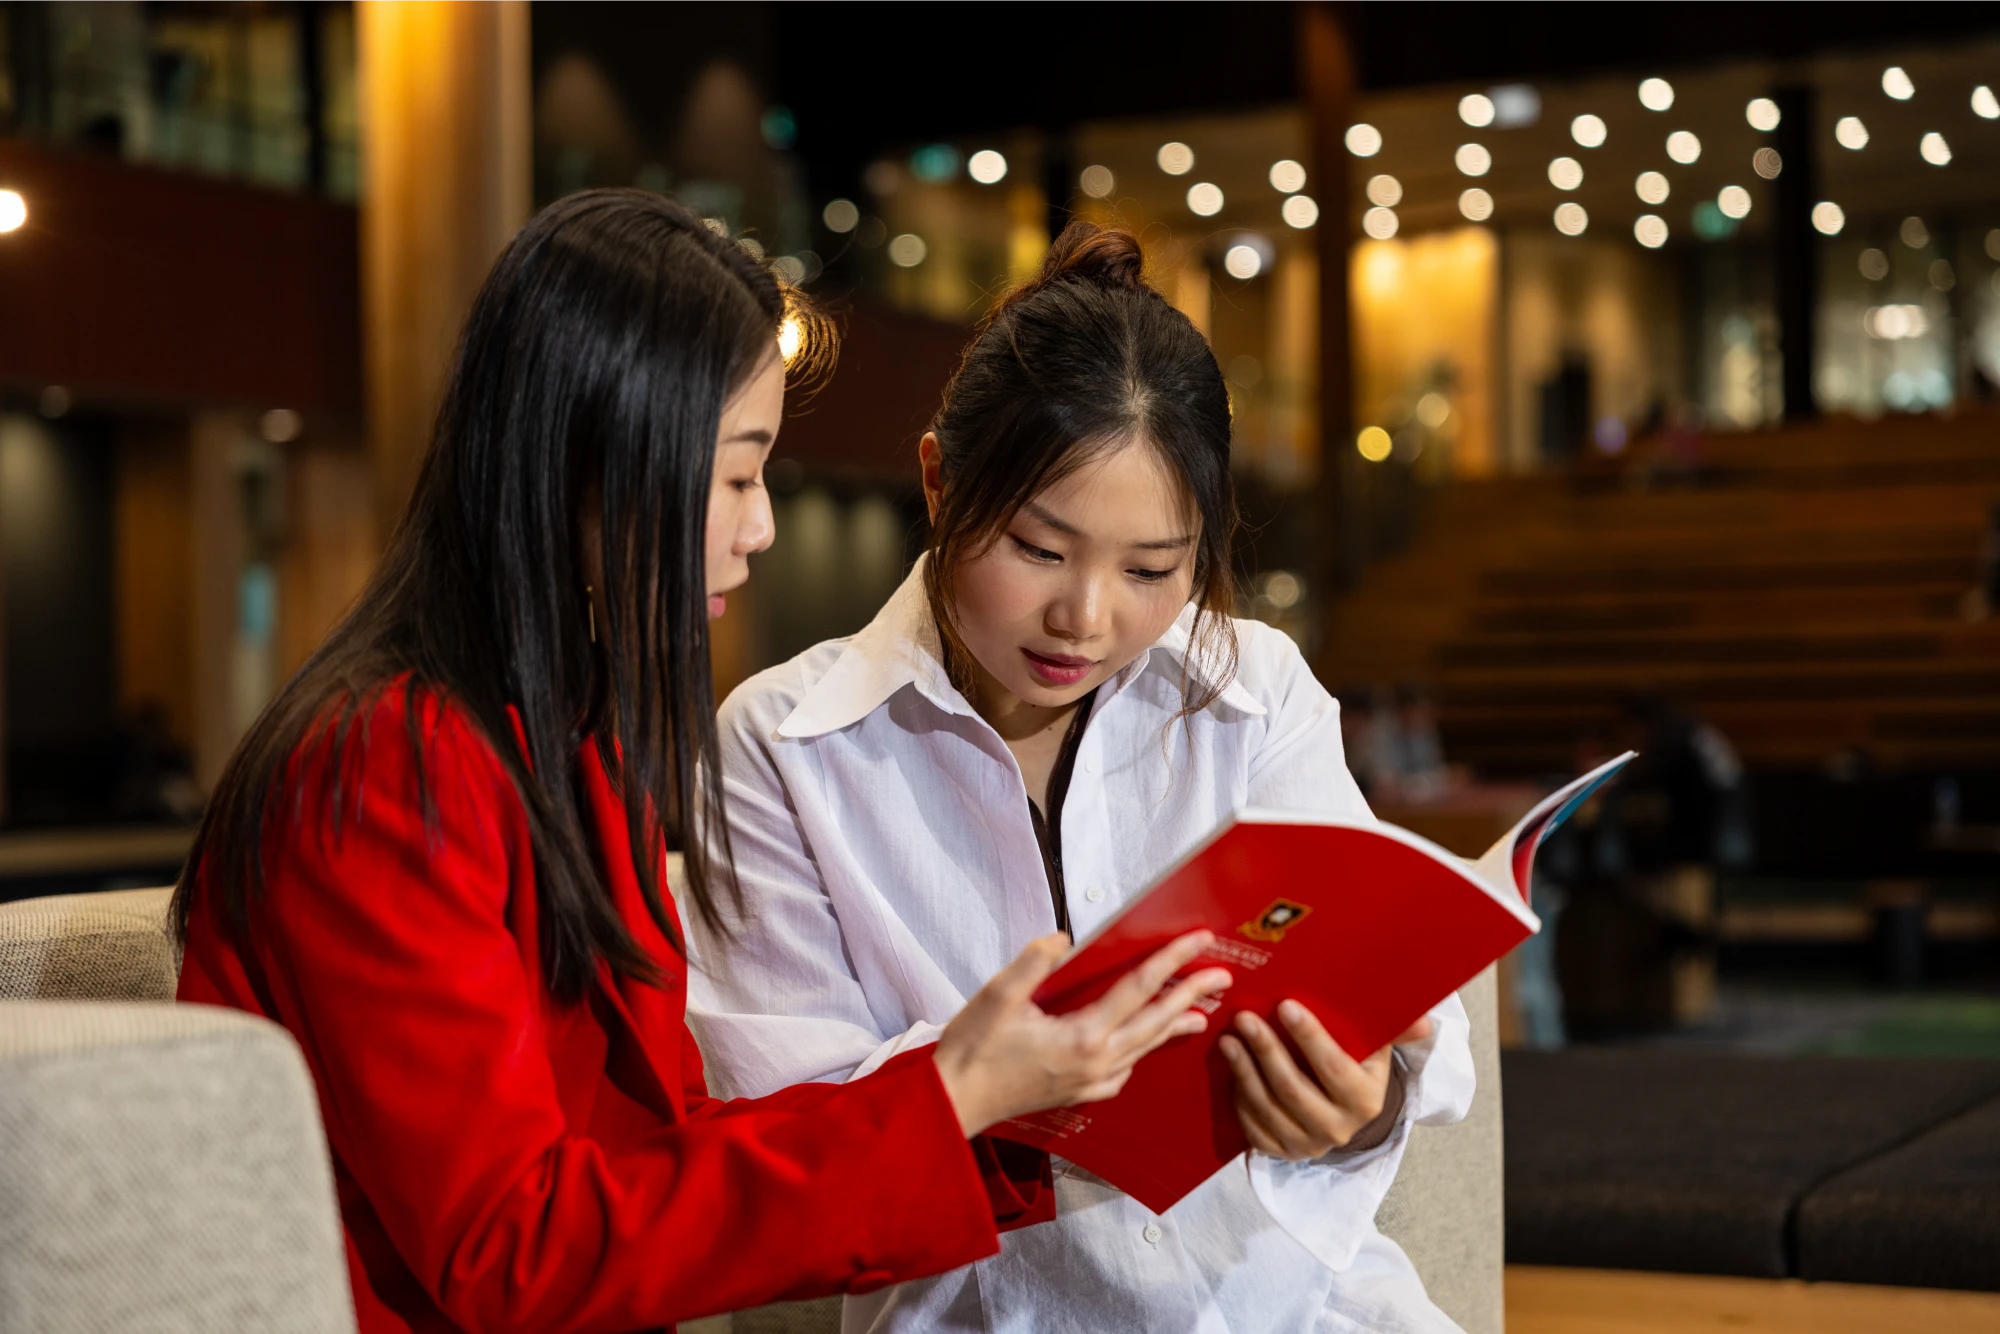
Explore diverse undergraduate, postgraduate, and higher degree options tailored to your interests and career goals, with our flexible programmes.
The University of Waikato and our partners provide various scholarship and award options to help students cover fees and living expenses, as well as to foster academic and research excellence.
Your academic journey starts here: a comprehensive guide packed with information on campus life, enrolment, orientation, and the tools you'll need to thrive in your days as a new student at Waikato.
Browse our extensive list of papers, and use filters to narrow down your search via paper type, trimester/teaching periods and locations.
Use resource booker to book student meeting rooms.
View your higher degree progress reports in MyWaikato.
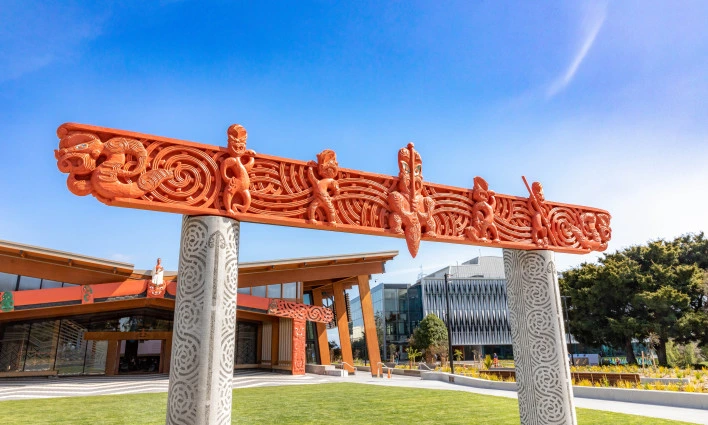
The University of Waikato offers programmes and services for Māori students, including academic support, scholarships, housing, and leadership opportunities.
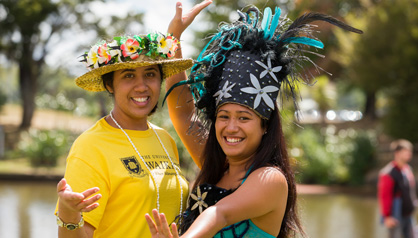
Discover the range of programmes and resources designed to support your academic journey and celebrate Pacific cultures.
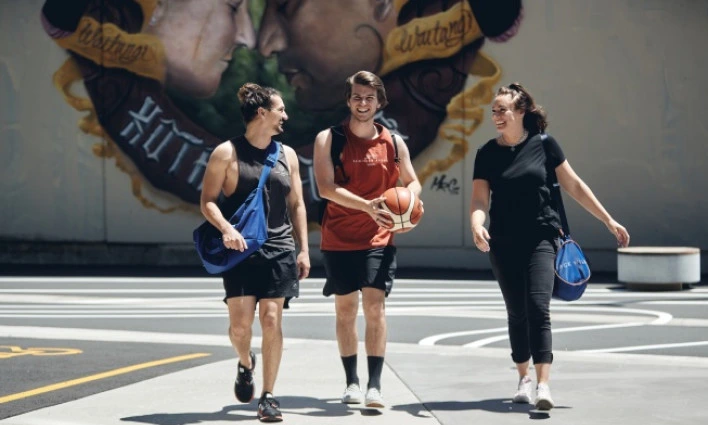
We offer a vast network of sports clubs and events, and a number of high performance programmes and scholarships.
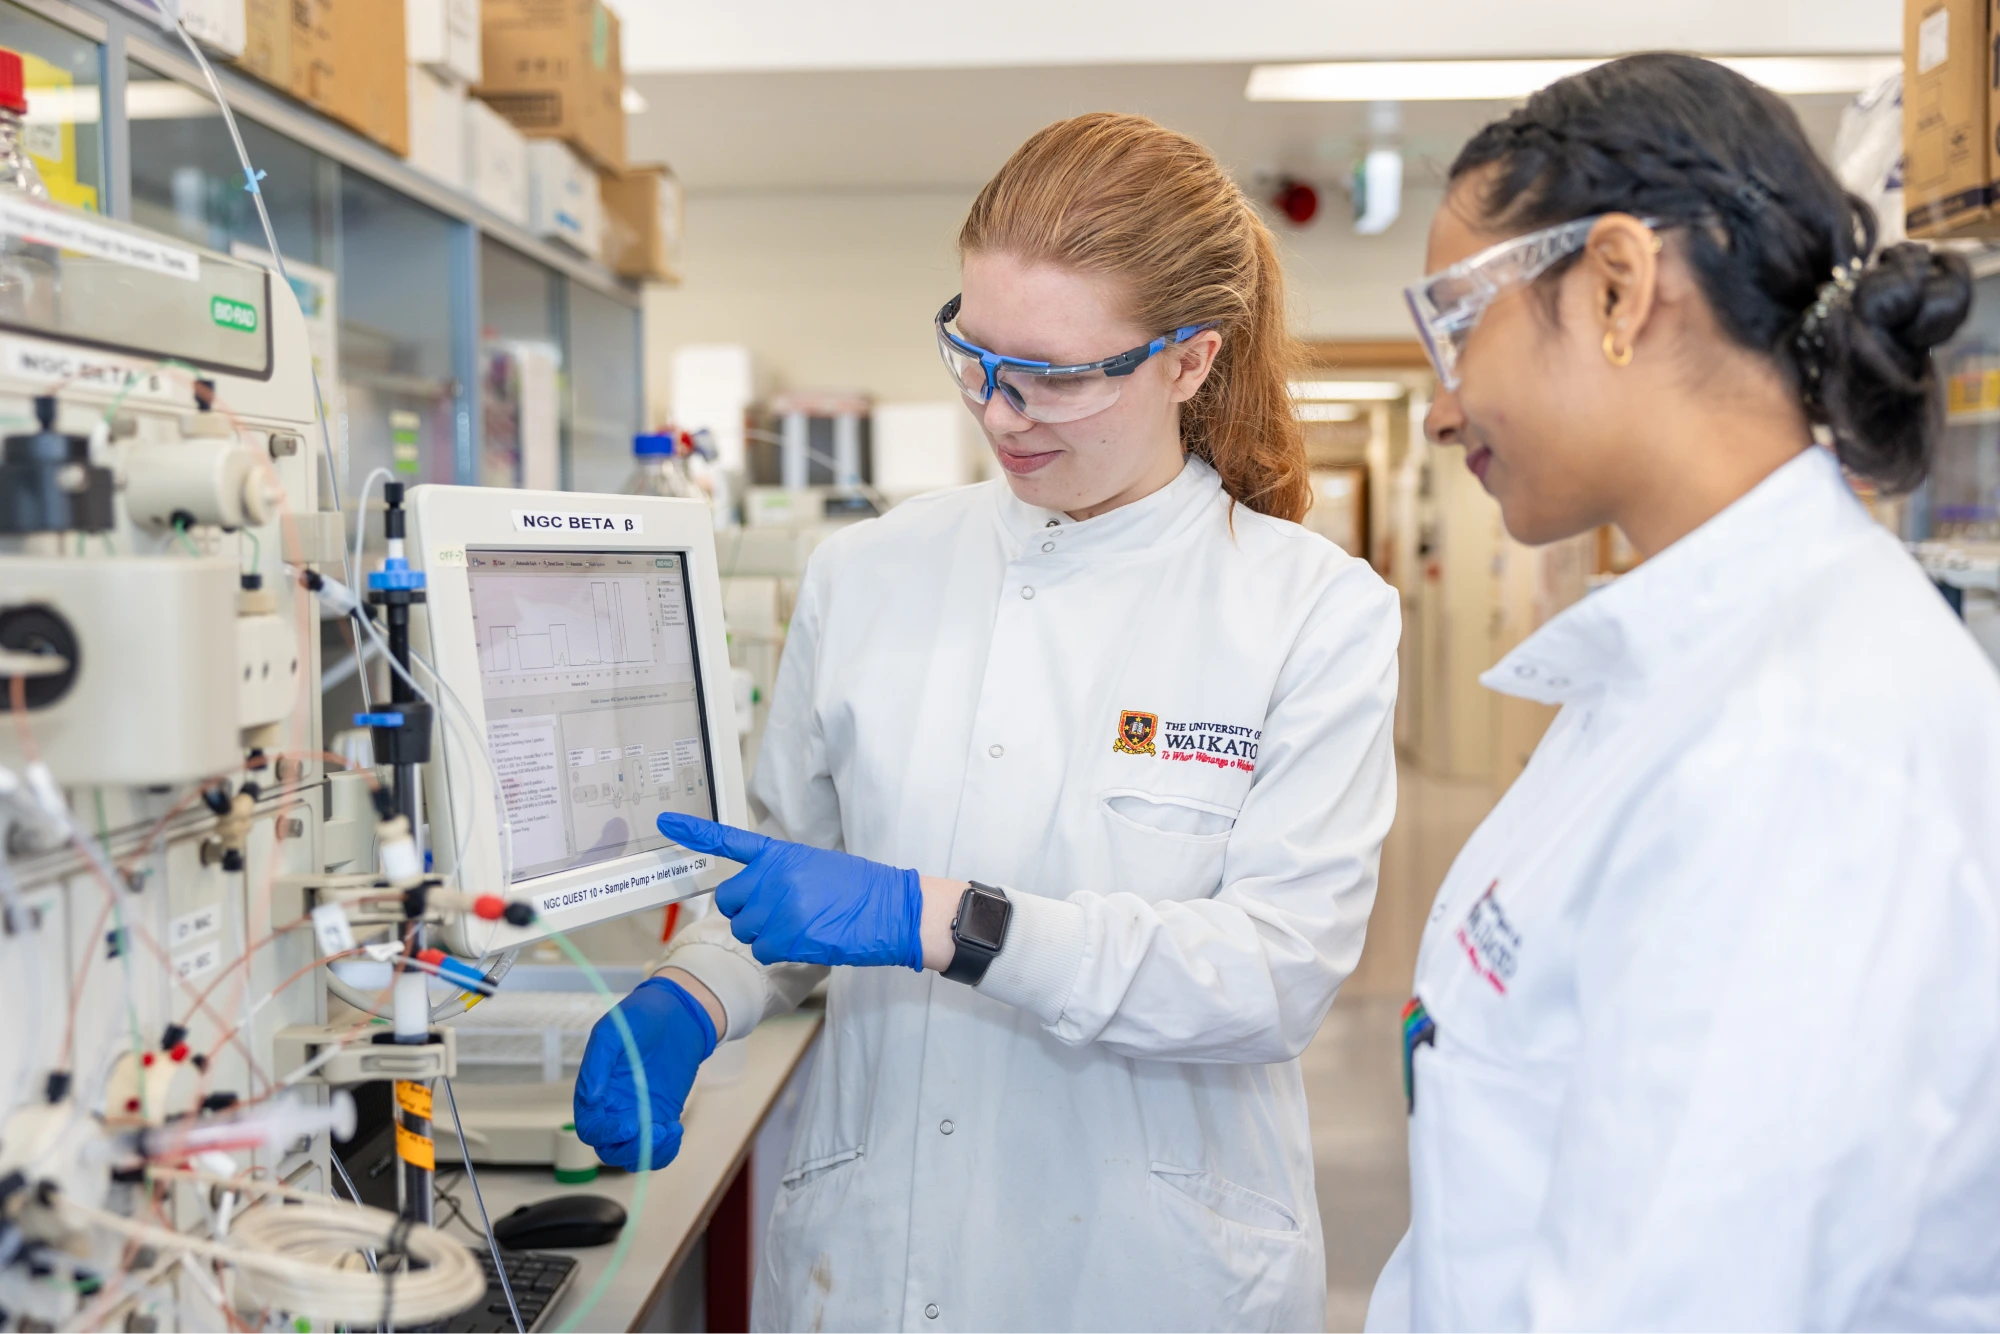
Experience University of Waikato's research impact! From AI to environmental science, explore studies shaping the future. Join us in advancing knowledge and making a difference!

New partnership for University of Waikato and Volunteer Service Abroad
The collaboration will utilise the University of Waikato's research and provide opportunities for students in the Pacific.

Countdown to blast off for University of Waikato Astronautics Club
The Astronautics Club is preparing to compete in Australia later this year with their rocket Takahe.
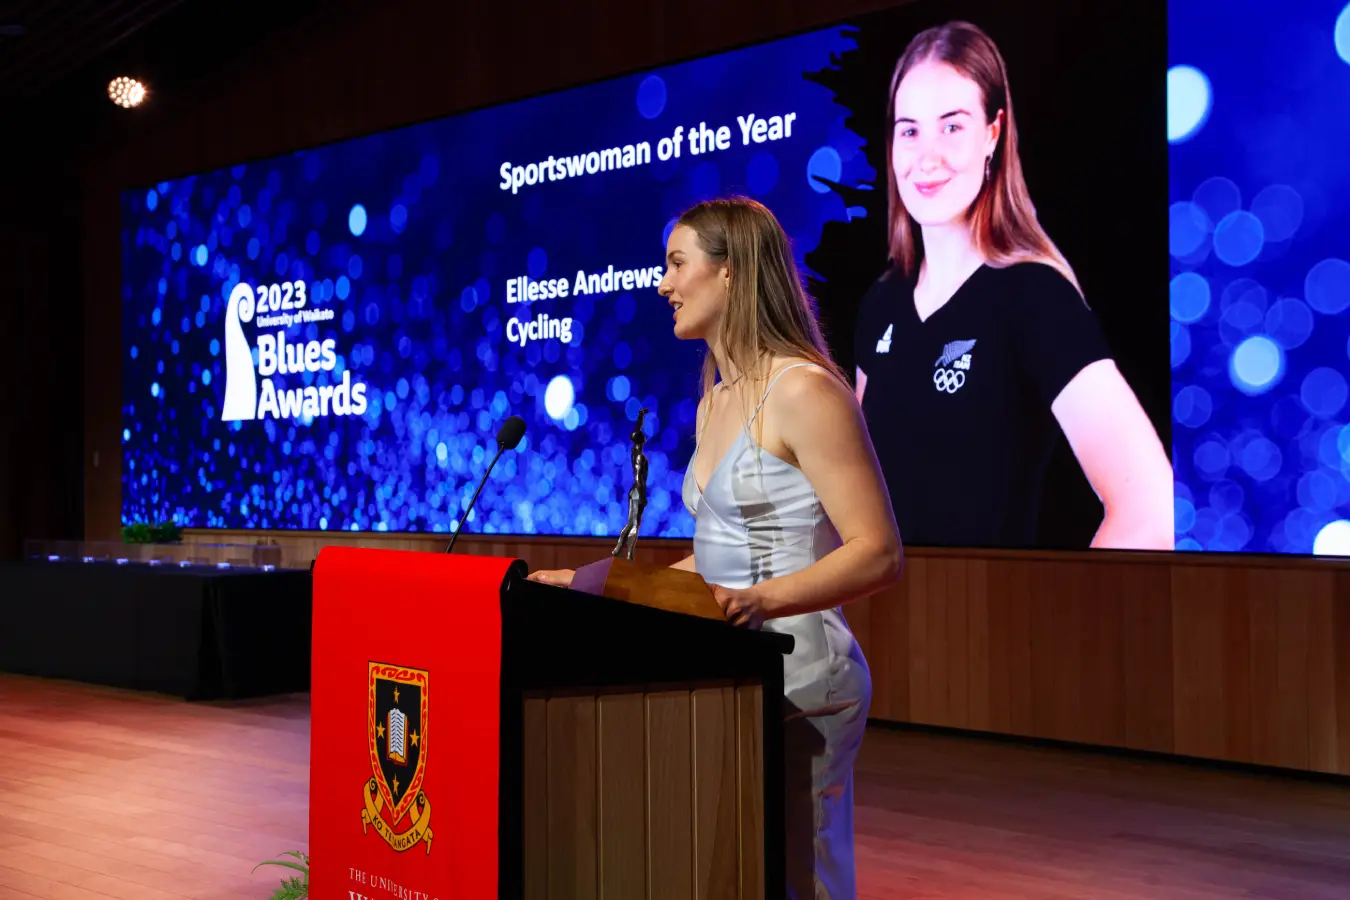
Celebrating the University’s King’s Birthday honourees
Impact in education, science, sport, Māori and community have been acknowledged in this year's honours.
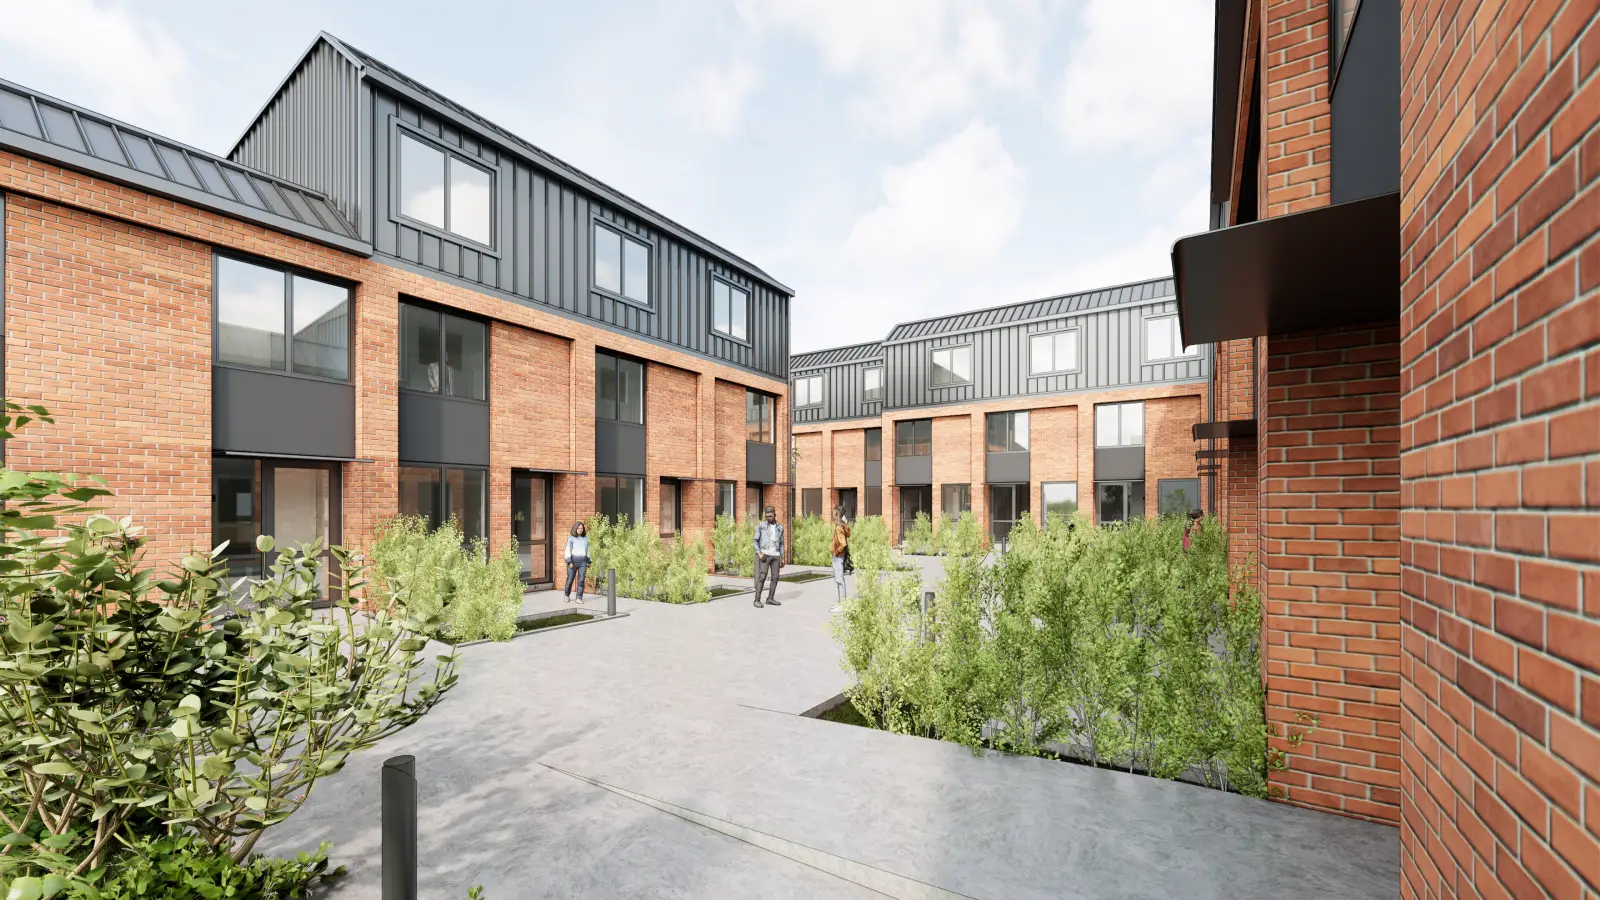
University of Waikato adds new apartments to meet accommodation demand
The 15 new student apartments will enable a flexible and independent living experience on campus.
Here at Waikato, we provide a range of different accommodation options for our students studying at both our Tauranga and Hamilton campus. Find out more about our accommodation options, as well as some advice and tips about flatting and renting.
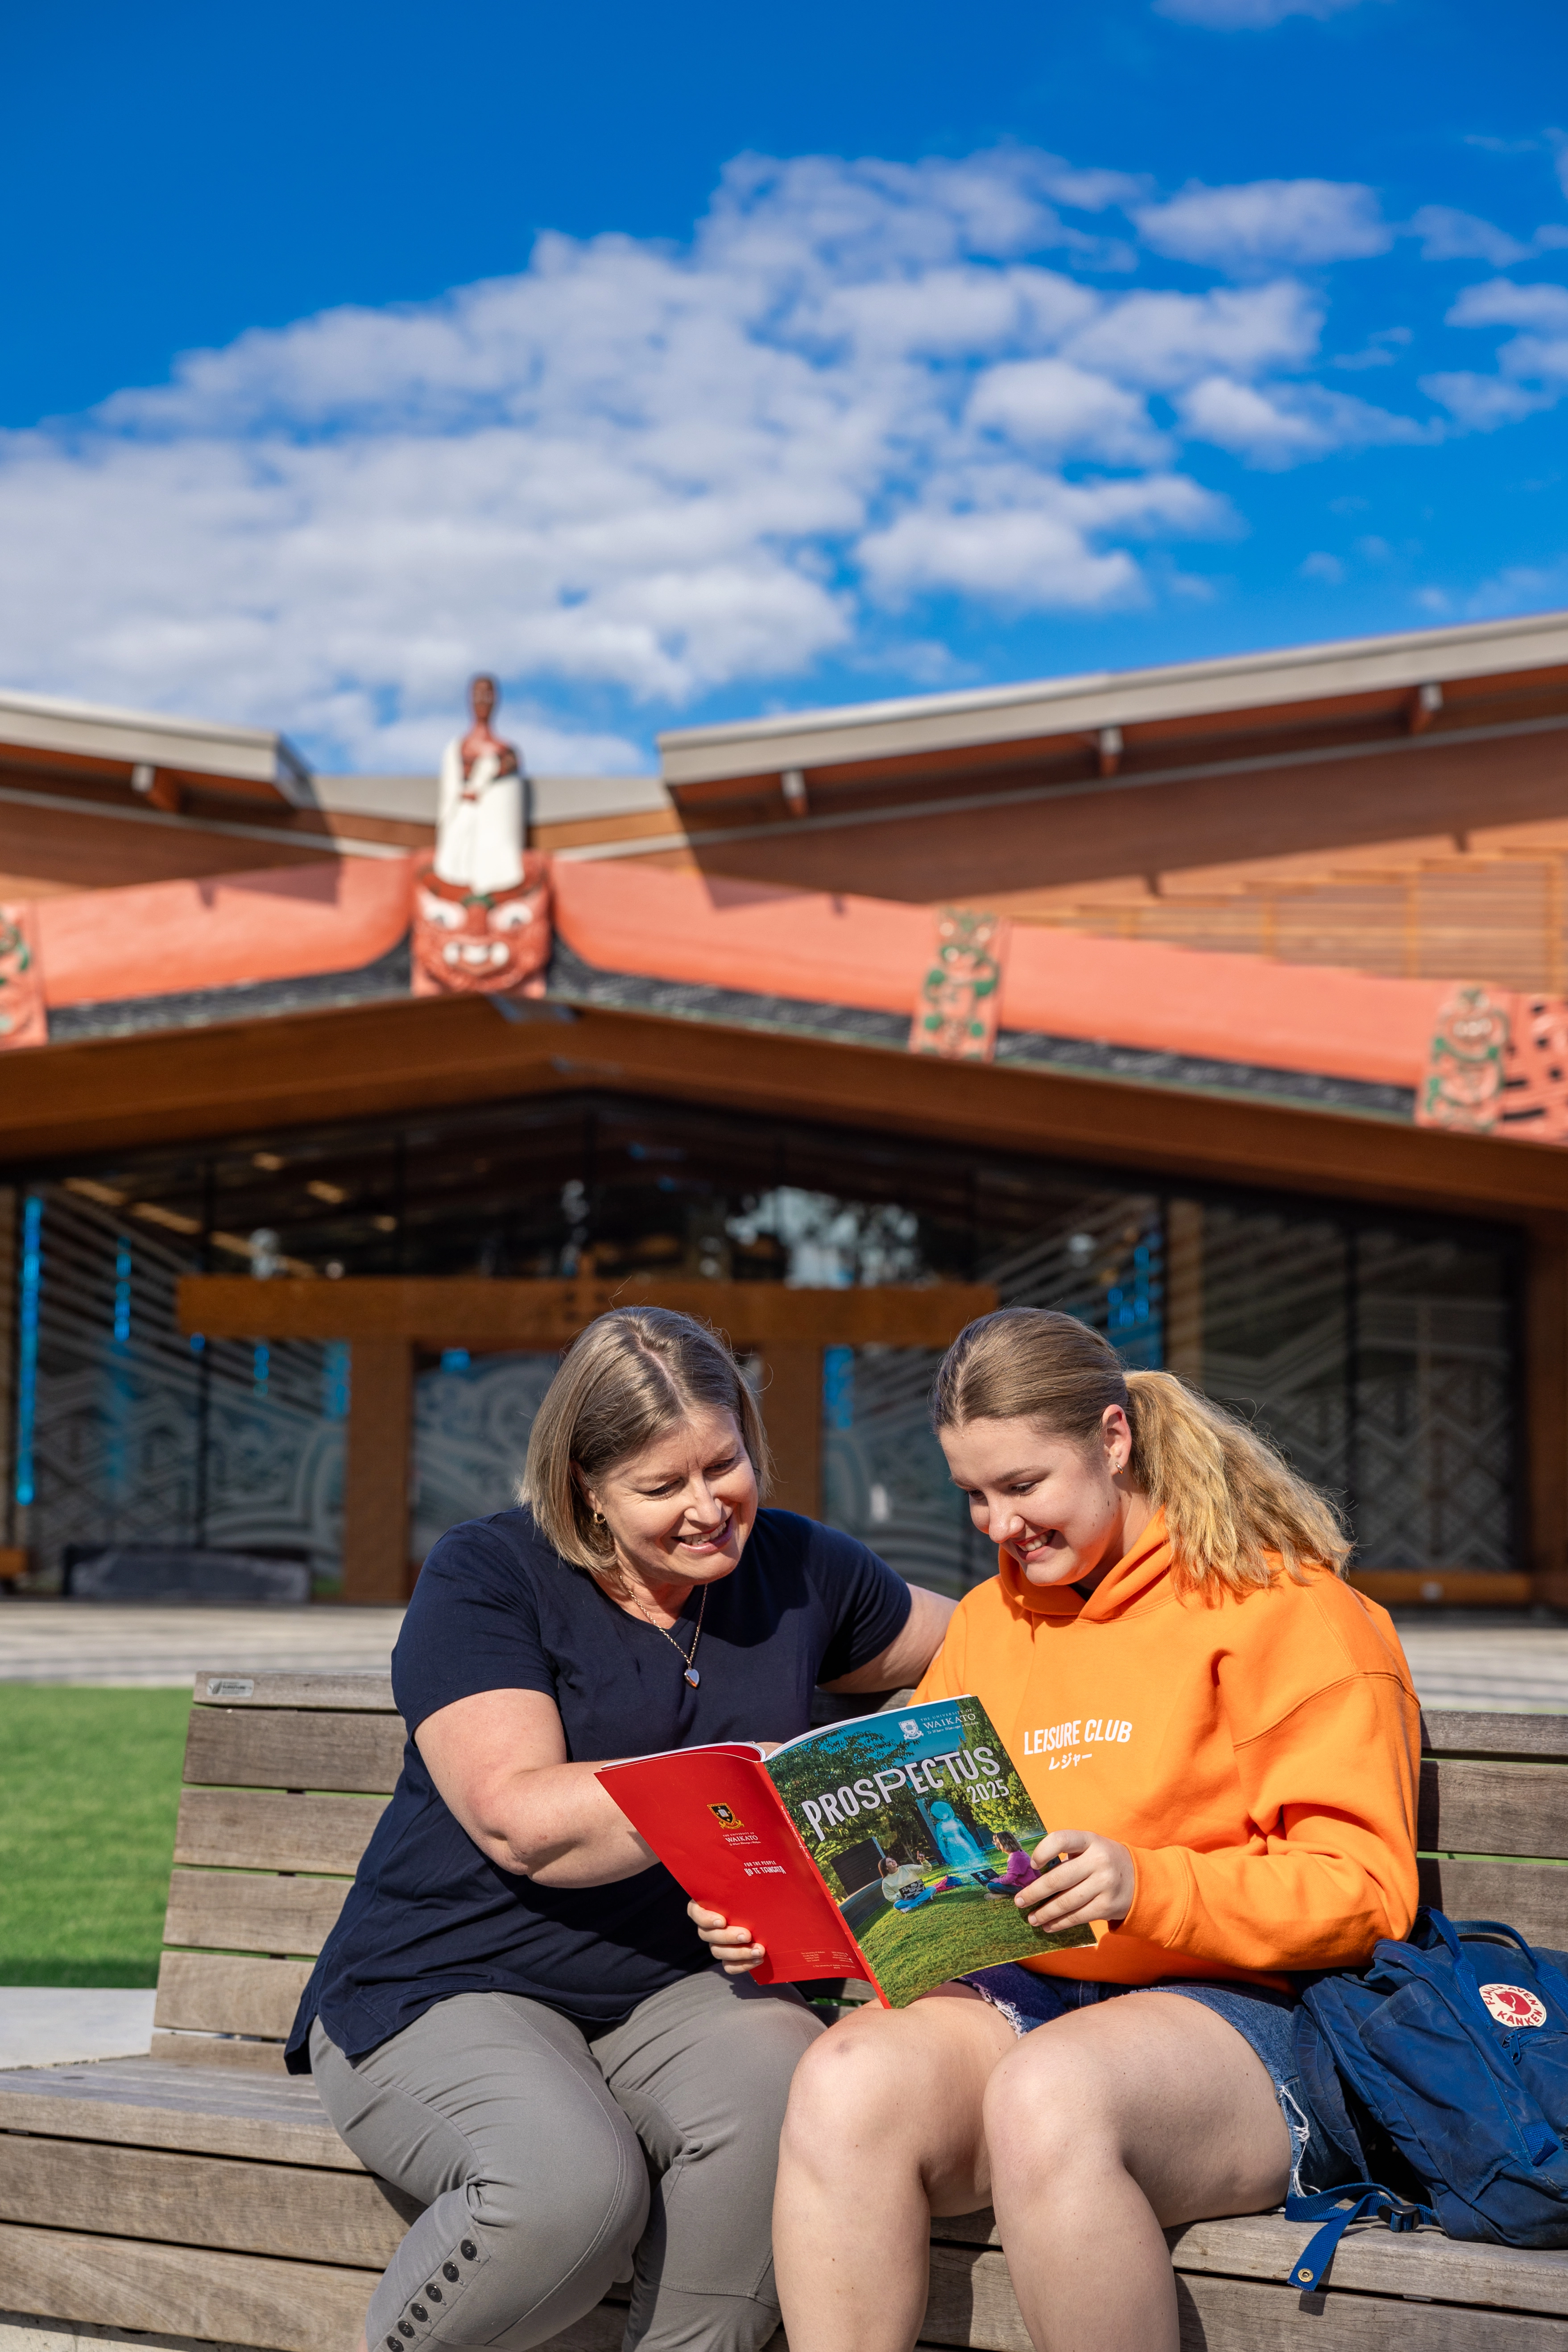
Prospective students, and their families and whānau, can talk to us about study options, get support with the enrolment process, and learn more about scholarships, accommodation, student support and other services.
You’re currently viewing the website as a domestic student, you might want to change to international.
You're a domestic student if you are:
You're an International student if you are: