Groupings
A Grouping is a collection of groups, much as a Group is a collection of users. If you plan to have more than one set of groups in your Moodle paper (e.g. students will be grouped differently for forums, group assignments and tutorials), first create the groups, then you will need to collect the groups into groupings.
Create grouping(s)
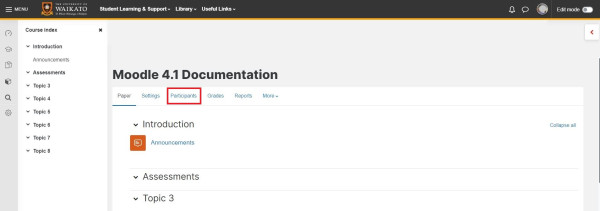
1. Select Participants from the tabs under the paper title.
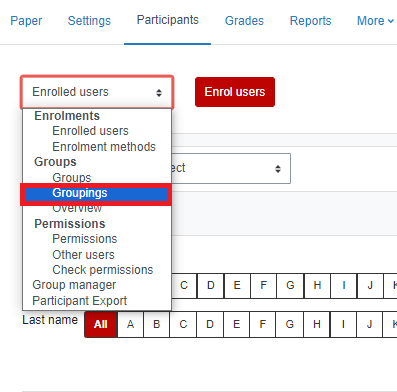
2. Select Groupings from the dropdown menu.
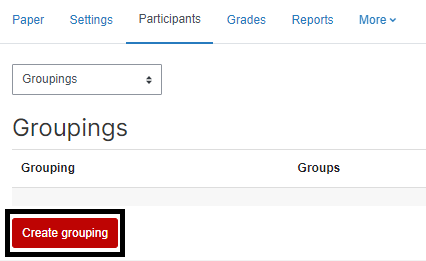
3. At the bottom left, select Create grouping.
4. Select the person icon at the far right of the Grouping name.

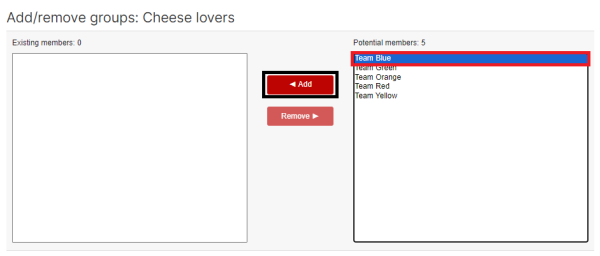
5. Select relevant groups in the Potential members box on the right, then select Add.
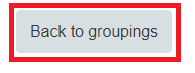
6. Scroll down and select Back to groupings.
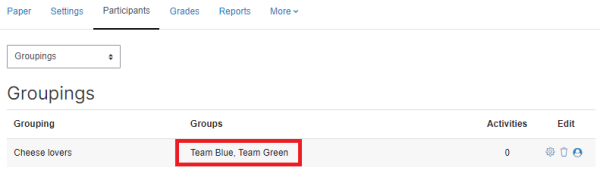
7. Check that all relevant Groups are now listed as members of the Grouping.
Apply a grouping
A. Apply a grouping to an Activity
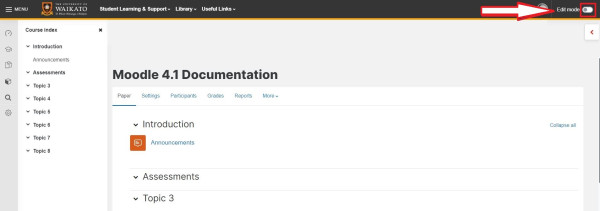
1. On the top right-hand corner of your Moodle page, switch the Edit mode toggle to on.
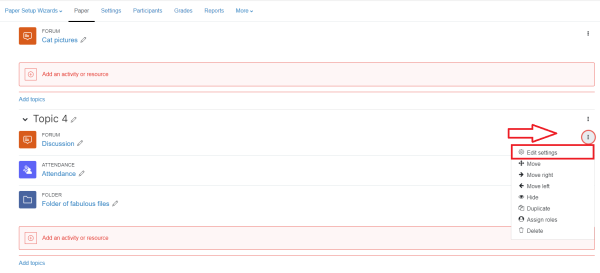
2. Go to the Moodle Activity (e.g. the Forum or Assignment), select the three dots on the far right, then select Edit settings.
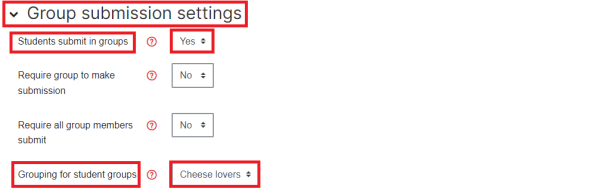
3. Scroll down and open the Group submission settings, change Students submit in groups to Yes, then choose the relevant grouping in the Grouping for student groups drop-down menu.
4. Finally, scroll down and select Save and display or Save and return to paper.

Note:
You can also use the method described below in 'C. Apply grouping to a Resource' to restrict access to an Activity.
B. Apply a grouping as default at paper level
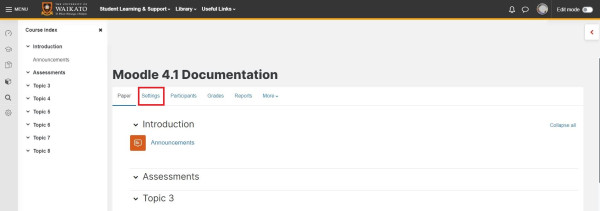
Go to your Moodle paper and select Settings from the tabs under the paper title.
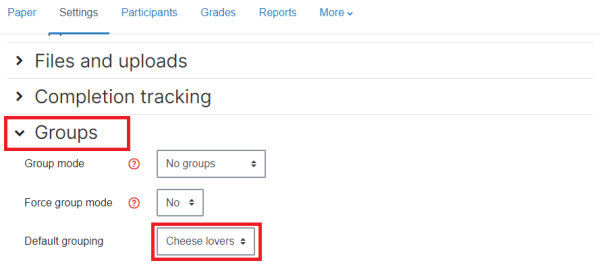
2. Scroll down and select Groups to open the Groups section, then choose the relevant grouping in the Default grouping dropdown menu.
3. Finally, scroll down and select Save and display.
C. Apply a grouping to a Resource
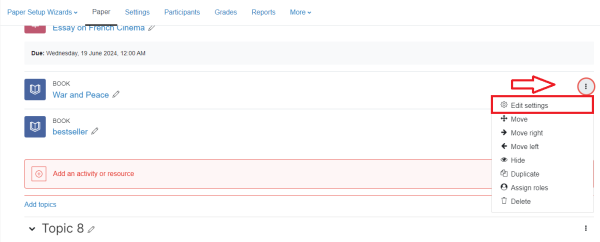
1. On the top right-hand corner of your Moodle page, switch the Edit mode toggle to on.

2. Go to the Moodle Resource (e.g. a URL or File), select the three dots on the far right, then select Edit settings.
3. Scroll down to Restrict access and select the down arrow to expand the option.
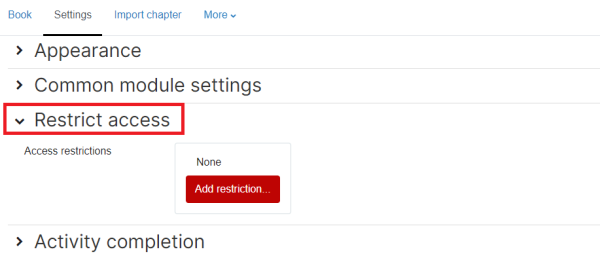
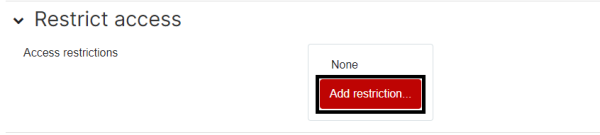
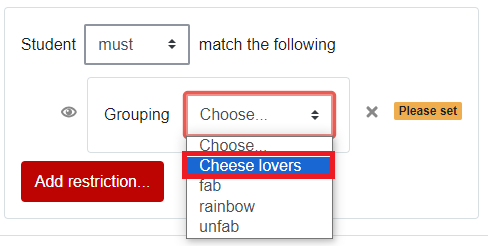
4. Select Add restriction.
5. From the dialogue box, select Grouping.
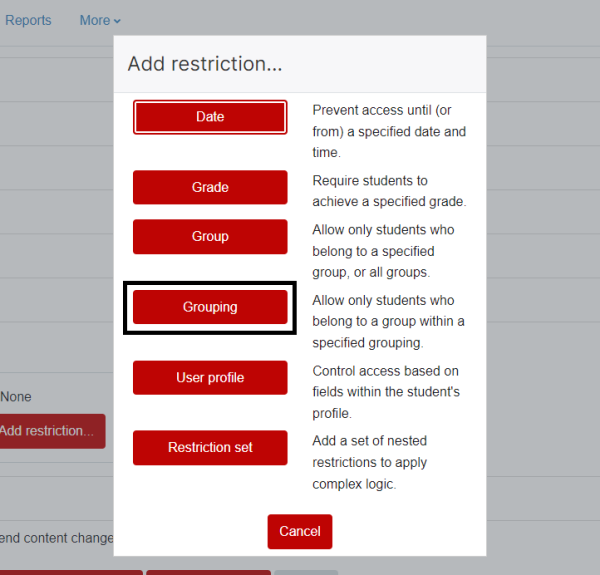
6. Select the relevant Grouping from the drop-down menu.
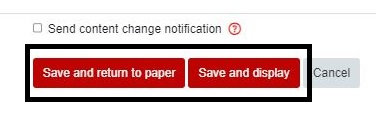
7. Finally, scroll down and select and select Save and display or Save and return to paper.
Moodle and Panopto are unavailable every Thursday 7:00 am – 7:30 am.