Add Teams meeting link in Moodle
For staff on how to add a link to lectures, tutorials, or other Microsoft Teams sessions into a Moodle paper.
This page explains how to create a Teams meeting link and add it to your Moodle papers as a URL.
Checklist
-
- Launch the Teams desktop app
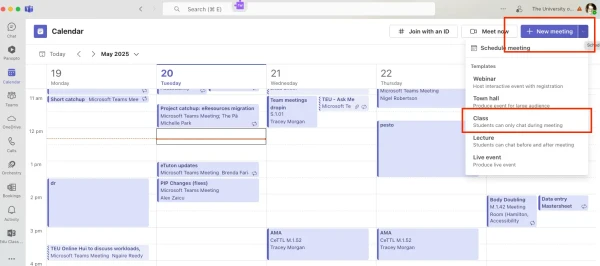
- Click on the Calendar icon in the left-hand menu
- Click + New meeting and choose the Class Template
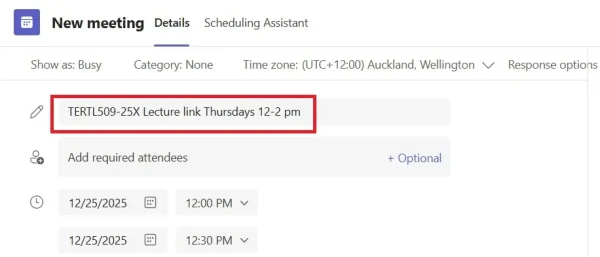
- Fill in meeting details and Save
- Click on the meeting, then select the copy icon
- Add as a URL into Moodle
Video: Teams meeting links in Moodle
This video is a quick introduction to adding a Teams meeting link to Moodle papers for lectures, tutorials, and other teaching sessions.
How to add a Teams Meeting to a Moodle paper
1. In Teams Calendar
- Open the Teams app on your device.
Note:
We recommend that you use the desktop app version of Teams, rather than the browser version.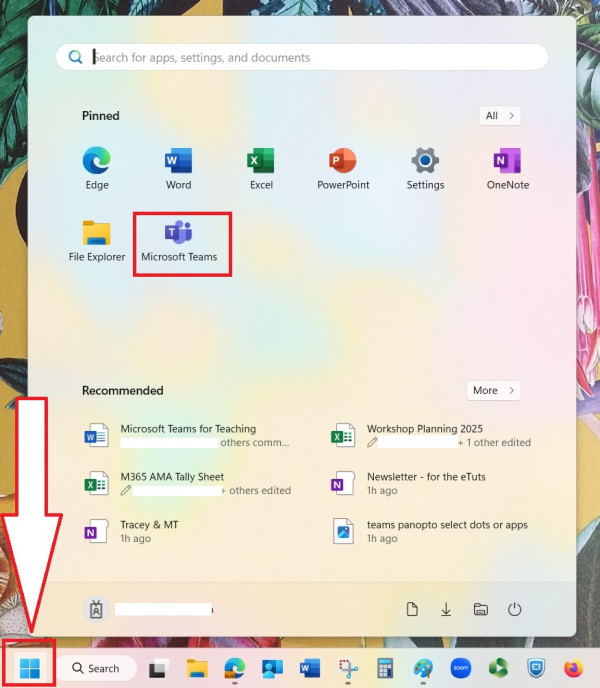
- On the left, select the Teams calendar.

- At the top right, use the drop-down next to the +New meeting menu and select a template. Class is recommended.
- Give your meeting a Title. If you will record your Teams meeting, use a unique title to facilitate mapping to Panopto.
 Note:
Note:
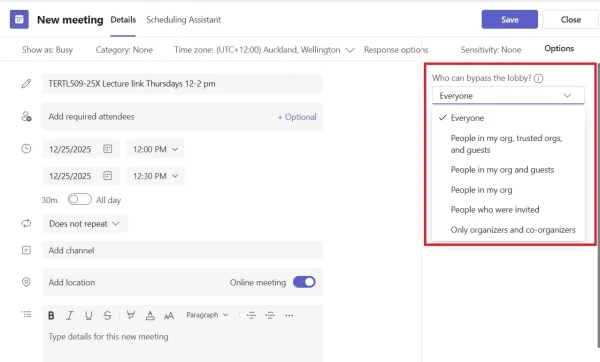
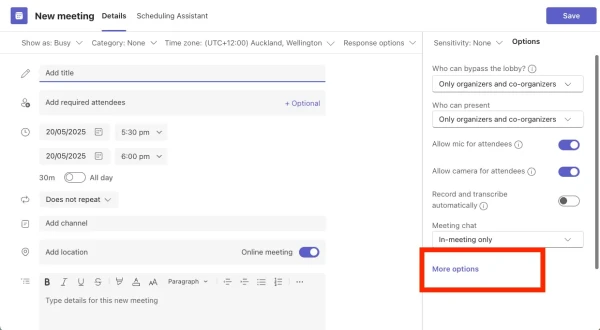
There is no need to save your meeting in Teams Calendar as a recurring meeting (except for your convenience, if you would like to see all instances). You can use a single Teams meeting link for each series of weekly lectures, tutorials, etc., or for all teaching sessions in a paper. - Under Options on the right, it is recommended that you change Who can bypass the lobby? to Everyone, so students can enter directly.
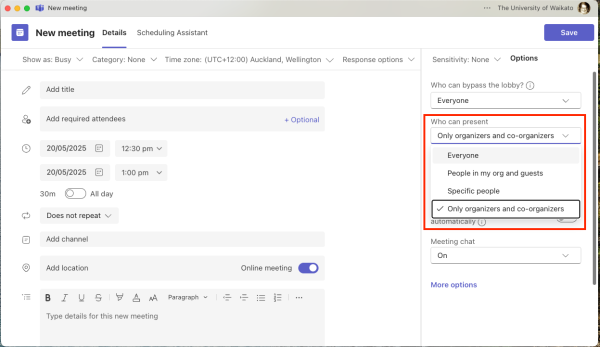
- Set Who can present in the meeting.
- Optional: if you need to enable other staff to be co-organisers, enter their names in the Add required attendees box.
 Then select More options on the right (see step 9), scroll down to Roles, select their names from the Choose co-organisers drop-down menu, and at the bottom right select Apply.
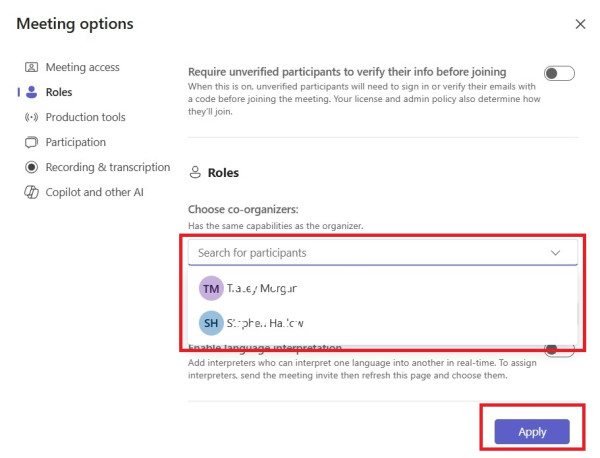
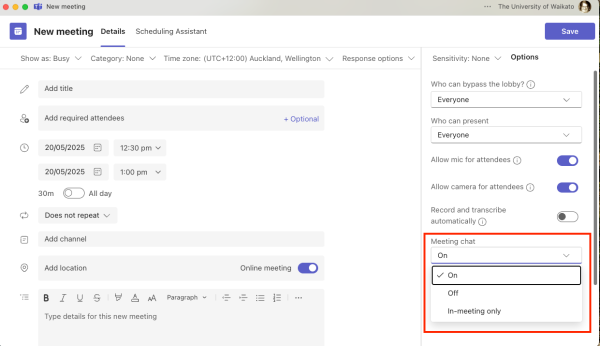
- Optional: change the Meeting chat setting. By default, the Class template allows chat only during the meeting.
- To review other settings, select More options on the right. See the Teams settings table.
- At the top right, select Save.

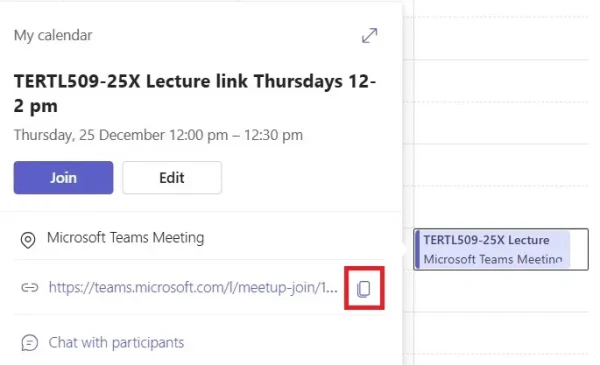
- Finally, select the saved meeting, then, in the pop-up window, select the copy icon to the right of the link.
2. In Moodle
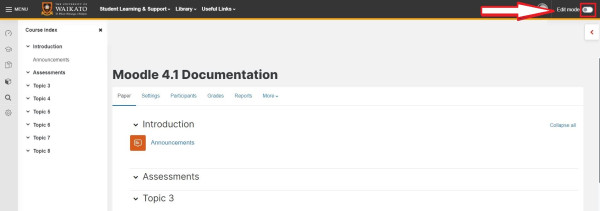
- At the top right of your Moodle paper, toggle Edit mode on.
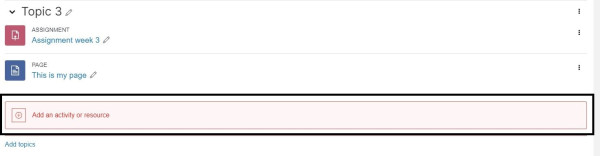
- At the bottom of the relevant section, select Add an activity or resource.
- In the activity picker, scroll down and select URL.

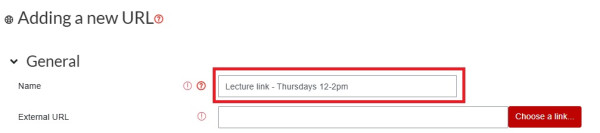
- Enter a Name. To help students, is a good idea to include details such as the day, time, and type (e.g. lecture or tutorial) of Teams session in the Name.
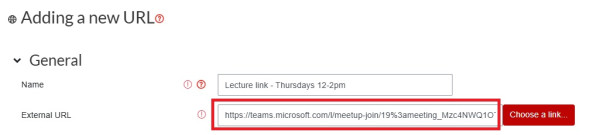
- Paste the Teams joining link in the External URL text box.
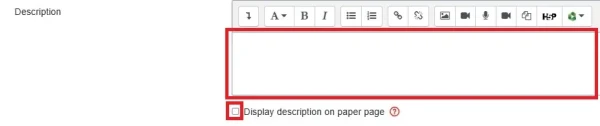
- If you wish, enter instructions for your students in the Description text box. You can also tick Display description on paper page.
- Scroll down and select Save and return to paper or Save and display.
 Note:
Note:
Your students can now join the lecture (or other Teams meeting) by selecting the link in Moodle.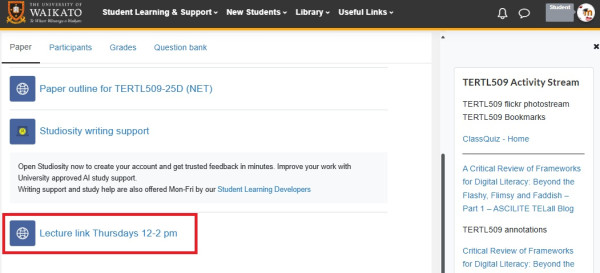
Outlook Calendar options
We do not recommend this method, but if you would like help customising Outlook meetings so they suit your teaching sessions, please come to an AMA session with Te Puna Ako or contact ITS. After you create a Teams meeting in Outlook calendar, you would copy the meeting link to add to Moodle as above. The steps in Outlook are different and there are less features available.
Teams meetings options
This table summarises the main More options settings available in Microsoft Teams meetings.
Setting |
Description |
When to use |
Meeting access |
||
| Who can bypass the lobby | Choose who can join the meeting directly without waiting in the lobby. | To control access. |
| People dialing in can bypass the lobby | Allow phone dial-in participants to skip the lobby. | To reduce wait times for phone users. |
| Who can admit from the lobby | Decide who can let people in from the lobby. | To restrict lobby management to specific roles. |
| Announce when people dialing in join or leave | Get alerts when phone users join or leave. | For awareness in meetings with dial-in participants. |
Roles |
||
| Co-organizers | Assign additional organizers with similar permissions. | For shared meeting management. Only people who have been invited to the meeting can be co-organisers. |
| Who can present | Decide who can screenshare. | If there are multiple presenters and guests. |
Participation |
||
|
Allow mic for attendees |
Enable or disable attendee microphones. | For webinars or large meetings. |
|
Allow camera for attendees |
Enable or disable attendee cameras. | To manage video usage in meetings. |
|
Meeting chat |
Control whether chat is enabled, disabled, or moderated. | To manage communication flow. |
|
Q&A |
Enable structured Q&A during the meeting. | For webinars or large presentations. |
|
Allow reactions |
Allow participants to use emojis during the meeting. | To encourage engagement. |
|
Allow attendance report |
||
|
Recording & transcription |
Start recording when the meeting begins. | For those who cannot attend or wish to review. Transcript can be hidden or stopped during recording. |
Full list of Meeting options in Microsoft Teams
What access do the roles have in Microsoft Teams meetings
Manage paper help pages
-
Manage my paper
-
Import material from another Moodle paper
-
Import specific items from another Moodle paper
-
Prepare a paper for the first time in Moodle
-
Edit paper content
-
Change Language to Māori
-
Change the number of topics
-
Moving and editing blocks
-
Add text to a topic
-
Make a paper visible to students
-
Groupings
-
Auto-create groups
-
Create and edit Groups
-
Group Choice self sign-up
-
Edit paper settings
-
Turn off auto-linking in Moodle
-
Restrict access
-
Configure the Assessments block
-
Compulsory assessments
-
Exporting the list of participants of a Moodle paper
-
Add Teams meeting link in Moodle