In-meeting settings
This page covers some settings that you may want to use during a Zoom meeting. See also Adjust settings for how to access other settings, Record a session, Alternative Hosts, and Breakout Rooms.
To access most in-meeting settings, hover your cursor over the bottom of the Zoom screen area. The task bar below will appear.
![]()
Note: If you can't see all the above icons, you may need to check your hosting rights, or your screen may be too small to display them all: select More on the right hand side of the task bar to see hidden items. When screen sharing, this task bar may move to the top of your Zoom window.
Audio and Video Settings
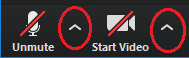
Audio and video settings are at the left of the task bar, bottom left of your screen. Settings can be accessed through the Up Arrows next to the microphone and video camera icons. They include audio and video source selection and virtual backgrounds.
Select the microphone or video camera icon to turn audio or video on and off.
Screen Sharing
To show your screen to other participants, select the Share Screen icon in the centre of the task bar.
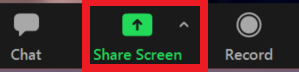
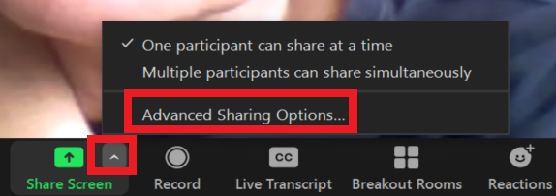
Select the Up Arrow to the right of the Share Screen button for Advanced Sharing Options.
Note: this option is only available to the Host.
Captions
See Zoom captions to enable live captioning in your Zoom meetings.
You can also combine several tools with Zoom to enable captioning.
- Google Slides are a good option to enable live captioning during a lecture. A single slide is sufficient to enable the caption function.
- You can add captions after the recording is uploaded to Panopto.
- You can turn on captioning in the Chrome browser.
Participants
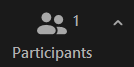
As Host, you can Mute/Unmute all individual Participants, and turn video on and off via the Participants icon. You can also make any Participant a Co-Host.
View options
Change your Zoom window view via the View icon at the top right of the window. You can also select the usual icons (_, X, etc.) to resize the Zoom window,
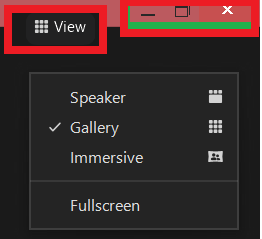
To expand/maximise a minimised Zoom window, select the square and arrow icon in the bottom right corner.

Chat
The Chat function allows participants to communicate without interrupting a speaker, and can be used to share web links and (if enabled in your settings) files. When there are new message(s), a number will appear on the Chat icon, or you may see a pop-up window.
Select the Chat icon in the task bar to see or enter a Chat message.

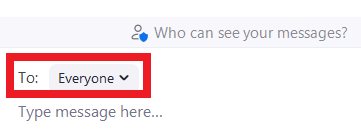
A Chat window will appear on the right of the Zoom screen. Enter your message at the bottom. Depending on settings, you can choose to Chat to Everyone or individual participants.
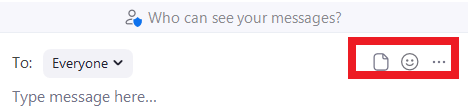
To Save the chat select the three dots at the bottom right of the Chat window, then Save Chat. To attach a file select the file icon to the left of the smiley face icon.
Note: In a classroom setting, you will need to manage the visibility of Chats. Strategies include warning students, and not making the Zoom window visible on lecture theatre screens by using a separate device for Zoom participants. Please contact Te Puna Ako (CeTTL) if you would like assistance with this.