Recording a Zoom session
This page explains how you can record a lecture to the Cloud using the University of Waikato's Zoom account, and make it available to students via the Panopto block in Moodle papers.
You can also record a Zoom session to your own device, and Upload it to Panopto.
You can share the Zoom session recordings once they are in Panopto.
Note: Only the Host can record, and give other participants permission to record. To ensure that you log in with your hosting privileges, and any other settings associated with your staff profile, first log in to Zoom via the Quick Links menu on the staff landing page.
1. Start your University of Waikato Zoom session.
2. Select the Record icon at the bottom of the Zoom meeting window, or at the top if you have shared your screen.

3. If you are recording a lecture or any other session that you would like your students to access via Panopto, select Record to the Cloud. This saves the recording to your personal My Folder in Panopto.

4. Pause and Stop options appear once the recording has started. Remember to Stop recording when you have finished.
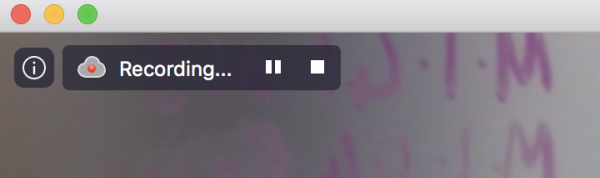
Note: Recordings can take a while to process. You should receive a confirmation email when processing is completed.
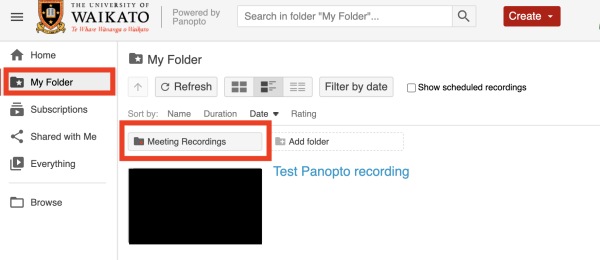
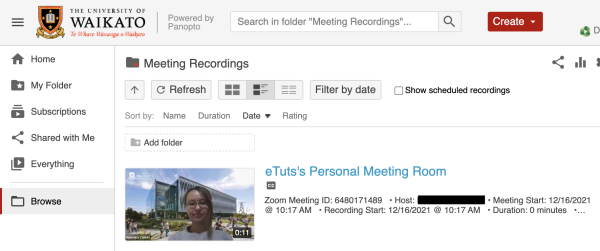
5. To make the recording accessible to students or other participants, go to your Meeting Recordings in My Folder in Panopto after processing is complete and follow these steps to move the recording to the appropriate paper's Panopto folder. You can also share the recording.
Note:
If you have set up and recorded a session on behalf of a guest lecturer, it will save to your own My Folder as normal.
If you have recorded to your own device, you can Upload the Zoom recording to Panopto.
If you have recorded to a lecture room computer by mistake, the Help Desk should be able to help you recover your recording.